

A well-executed nail art design can transform your nails from ordinary to extraordinary, adding a touch of flair and personality to your look. However, attempting intricate nail art at home can be a daunting and intimidating task. With so many techniques and tools available, it's easy to feel overwhelmed and unsure where to start. Luckily, our handy Tweexy wearable nail polish holder can simplify the process and assist you in creating exceptional nail art designs.
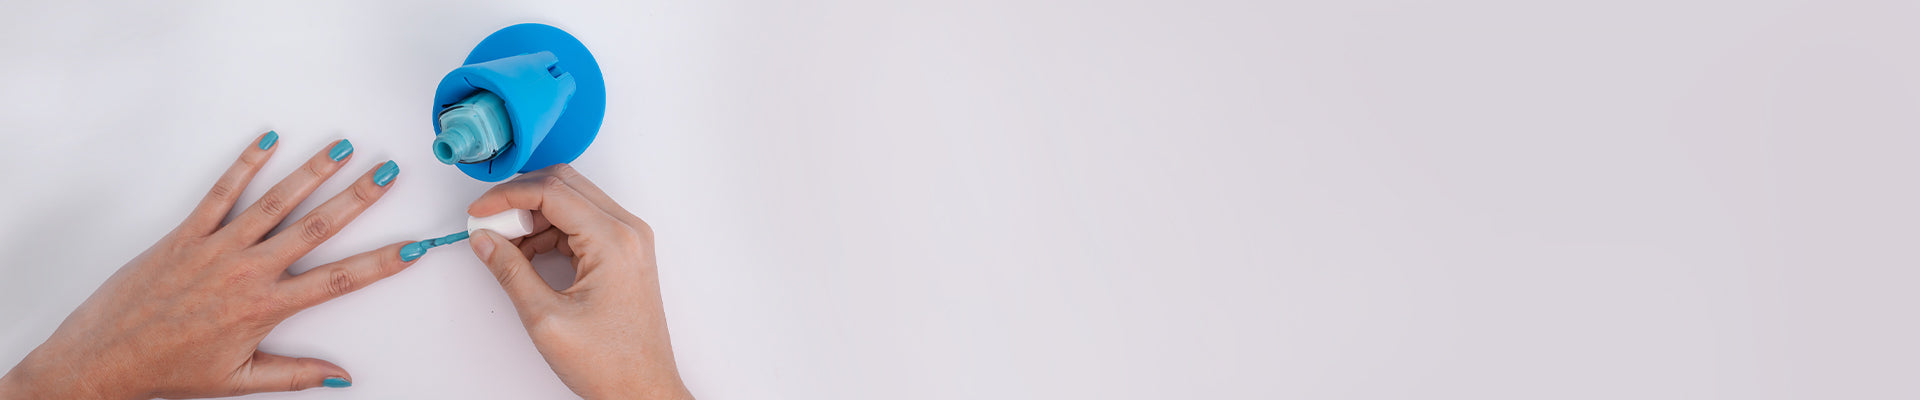
The Tweexy wearable nail polish holder not only provides a stable, spill-free platform for your nail polish but also offers enhanced control, allowing you to create intricate and precise nail art designs with ease. Whether you are a nail art beginner or an experienced enthusiast, incorporating the Tweexy wearable nail polish holder into your beauty routine helps you explore new styles and techniques while creating professional-looking results at home.
In this blog post, we'll uncover the top DIY nail art techniques to master using your Tweexy wearable nail polish holder. We'll discuss each technique in detail, providing step-by-step instructions and valuable tips to ensure your nail art success. No matter your skill level, these techniques will inspire you to unleash your creativity and transform your at-home manicure experience. So, let's embark on a journey towards stunning, salon-quality nail art and unleash the true potential of your Tweexy wearable nail polish holder.
Marbled Effect: Create Stunning, Swirled Nail Art
One of the most visually appealing nail art techniques is the marbled effect, which results in an intricate, swirled design that resembles natural marble. Here's how to achieve this eye-catching look using your Tweexy wearable nail polish holder:
Step-by-Step:
- Choose two or three complementing nail polish colors and apply a base coat to your nails.
- Using your Tweexy nail polish holder, secure the first polish bottle, and paint a vertical stripe on a clean plastic surface or a nail art mat.
- Repeat step 2 with the remaining colors, placing the stripes next to each other.
- Use a toothpick or a thin nail art brush to swirl the colors together gently. Be careful not to over-mix the colors, or you may end up with a muddy result.
- Dip your nail into the swirled pattern. Gently lift your finger, allowing any excess polish to drip off.
- Use a clean brush or cotton swab dipped in nail polish remover to clean up the edges of the nail.
- Apply a top coat to seal and protect your design.
Polka Dots: A Playful, Classic Nail Art Technique
Polka dots are a timeless and playful nail art design that can be mastered using your Tweexy wearable nail polish holder. This technique requires minimal tools, making it perfect for nail art beginners.
Step-by-Step:
- Apply a base coat and your chosen base color.
- Secure the nail polish you want for the dots in your Tweexy holder.
- Dip a small dotting tool or toothpick into the polish, then gently apply dots to your nails in a symmetrical or random pattern.
- Allow the dots to dry completely before sealing your design with a top coat.
Gradient Effect: A Smooth, Seamless Blend of Colors
The gradient effect, also known as ombre or color fade, involves blending two or more nail polish colors to create a smooth transition between shades. This eye-catching design can be easily mastered with the help of your Tweexy wearable nail polish holder.
Step-by-Step:
- Apply a base coat and let it dry.
- Choose your desired colors for the gradient effect and secure the first one in your Tweexy wearable nail polish holder.
- Paint your nail with the lightest color, and let it dry.
- On a makeup sponge, paint stripes of your chosen colors in the order you want them to appear on your nail.
- Secure the next polish in your Tweexy holder and repeat step 4 until all colors are on the sponge.
- Press the sponge onto your nail, dabbing gently to blend the colors.
- Repeat step 6 as needed to achieve the desired opacity.
- Clean up any excess polish around your nails with a brush or cotton swab dipped in nail polish remover.
- Finish with a top coat to smooth the gradient and add shine.
Geometric Nail Art: A Bold, Modern Statement
Geometric nail art designs are trendy, bold, and modern. With your Tweexy wearable nail polish holder, you can experiment with various shapes, patterns, and color combinations for a statement look.
Step-by-Step:
- Apply a base coat and a base color of your choice.
- With your Tweexy nail polish holder, secure the nail polish color you want for your geometric design.
- Use striping tape, small nail art brushes, or nail art stencils to create your desired geometric shapes.
- Fill in the shapes with the secured polish, carefully removing the tape or stencil if used.
- Allow the design to dry before sealing it with a top coat.
Unleash Your Creativity with Your Tweexy Wearable Nail Polish Holder
Creating stunning, salon-quality nail art at home has never been easier, thanks to the benefits of the Tweexy wearable nail polish holder. By mastering these top DIY nail art techniques, you can unleash your creativity and enjoy the endless possibilities of unique, eye-catching manicures. So why not explore your artistic side and boost your nail art game by investing in a Tweexy wearable nail polish holder today?