


If you are a fan of nail art and love to try out new designs, then you must be familiar with nail decals. These tiny stickers can transform your nails into a canvas for intricate and beautiful artwork without the need for professional skills. Thanks to the advancement in technology, you can now create custom nail decals using your Cricut machine. In this blog post, we will provide you with a detailed step-by-step guide on how to make nail decals with Cricut. Let's get started!
Materials Needed
-
Cricut machine (Cricut Explore, Maker, or Joy)
-
Cricut Design Space software
-
Vinyl sheets (adhesive or heat transfer)
-
Nail polish (base coat, color, and top coat)
-
Weeding tool
-
Transfer tape (if using adhesive vinyl)
-
Tweezers
-
Scissors
-
Nail file
-
Rubbing alcohol or nail polish remover
Step 1: Prepare Your Nails
Before you start applying the decals, it's essential to prepare your nails. Clean your nails with rubbing alcohol or nail polish remover to remove any oils or dirt. Then, apply a base coat to your nails and let them dry completely.
Step 2: Choose or Create Your Design
Open Cricut Design Space and choose a design from the library or create your own custom design. You can upload images, draw shapes, or use text to make your nail decals.
Tip: Keep in mind the size of your nails when creating your design. To make it easier, you can create a template of your nails in Design Space and adjust your designs accordingly.
Step 3: Cut the Vinyl
Place the vinyl sheet on the cutting mat, making sure it's smooth and without any wrinkles. Load the mat into your Cricut machine. Set the material type in Design Space to match the vinyl you are using (either adhesive or heat transfer).
Tip: If using adhesive vinyl, make sure the shiny side is facing up. For heat transfer vinyl, place the shiny side down.
Press the "C" button on your Cricut machine to start cutting. Once the cutting is done, unload the mat and carefully peel away the excess vinyl.
Step 4: Weed the Design
Using a weeding tool, carefully remove the excess vinyl from around your designs. This step can be a bit intricate, especially if your designs are small. Take your time and ensure that you don't accidentally pull up any part of your design.
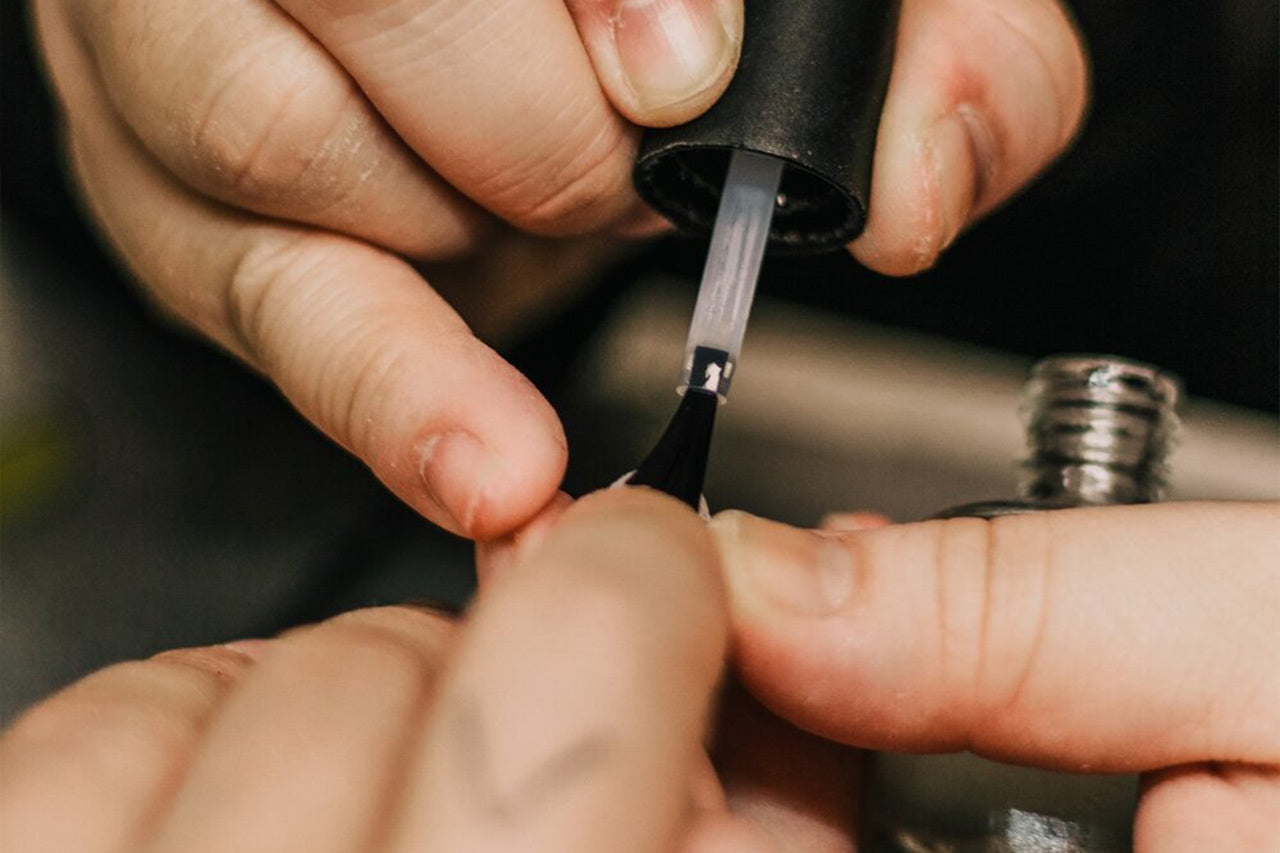
Step 5: Apply the Nail Decals
For adhesive vinyl: Cut a piece of transfer tape slightly larger than your design. Peel the backing off the transfer tape and carefully place it on top of your design. Press firmly to ensure the design adheres to the transfer tape. Peel the transfer tape (with the design attached) away from the vinyl backing. Using tweezers, carefully place your design onto your nail, making sure it's positioned correctly. Press the design onto your nail, then carefully peel away the transfer tape.
For heat transfer vinyl: Use tweezers to lift your design from the cutting mat and place it onto your nail, shiny side up. Cover your design with a thin cloth or parchment paper to protect it from direct heat. Using an iron or heat press on low heat, apply gentle pressure for 10-15 seconds. Allow the design to cool for a few seconds, then carefully peel away the clear carrier sheet.
Step 6: Seal Your Design
Once all your decals are applied, finish by applying a clear topcoat to seal your design and protect it from chipping. Allow the topcoat to dry completely.
Conclusion
And there you have it! With this step-by-step guide, you can now create stunning nail decals using your Cricut machine. The possibilities are endless when it comes to design, and you can personalize your nails for any occasion. So, get creative and have fun exploring the world of nail art with your Cricut!
Tweexy provides the first-of-its-kind wearable nail polish holder, along with a wearable weeding vinyl ring and a Tweexy hinge equipped with smart grip technology. If you are looking for the best Cricut weeding tool, check out what we offer!