Cricut machines have been revolutionizing the crafting industry, allowing enthusiasts and professionals to create intricate designs easily. From vinyl decals to custom t-shirts, the possibilities are endless with this powerful tool. However, with great power comes great responsibility, and in this case, great weeding.
Removing excess vinyl from your designs can be time-consuming and frustrating. But fear not, crafters, because here are some hacks that will revolutionize your Cricut weeding game and make everything a breeze.
What Is Weeding?
Weeding removes the unwanted parts of your vinyl design from the carrier sheet. This can be the most time-consuming part of the vinyl crafting process, and it's easy to get frustrated when small details don't come off the carrier sheet cleanly. But with our hack, we guarantee you'll be weeding like a pro in no time.
Cricut Weeding Hacks You Should Know
Use a Lint Roller
The humble lint roller you use to pick up pet hair and dust from your clothes can also be a game-changer in your crafting arsenal. Here's how it works:
After your Cricut has cut out your design, remove the excess vinyl from the carrier sheet as you normally would. Then, roll your lint roller over the design, pressing down firmly.
The adhesive on the lint roller will pick up any remaining vinyl pieces stuck to the carrier sheet. This includes small details that may have been difficult to remove with fingers or a weeding tool.
Weed on the Mat
Have you ever wished you had three hands to help you weed your vinyl designs? Well, this trick can make it feel like you do!
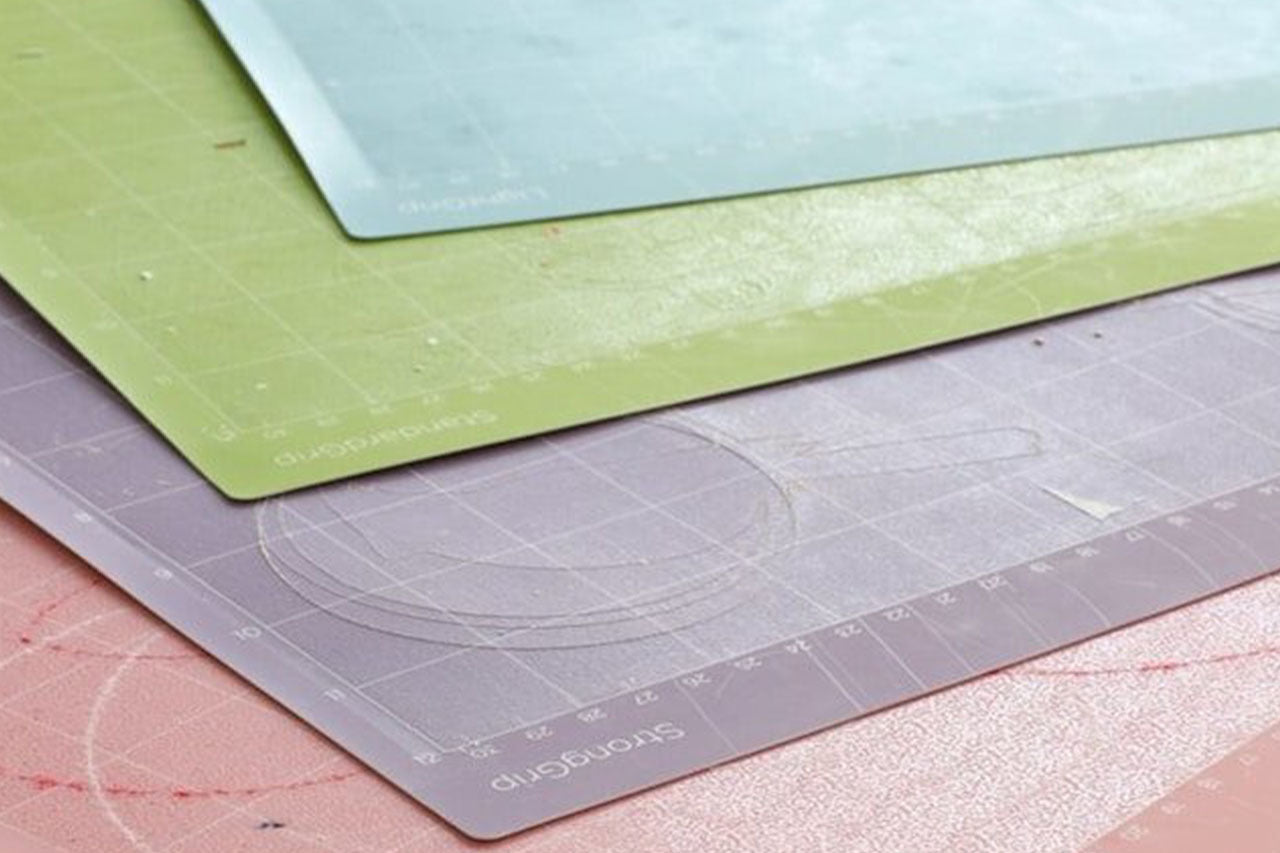
Place your weeding tool on your cutting mat, with the point facing up. Then, place the carrier sheet with your cut vinyl design over the weeding tool, with the cut side facing down. This will hold the carrier sheet in place while you weed the design with your other hand.
This makes weeding easier and more efficient and can also help prevent your vinyl design from curling or sticking to itself while you work.
Heat Transfer Tape Hack
If you've ever struggled with getting your heat transfer vinyl designs to transfer onto your project without wrinkling or shifting, this hack is for you.
Use clear contact paper or painter's tape instead of heat transfer tape for vinyl designs. Afterward, cut a piece slightly larger than the design, press it onto the vinyl with a scraper tool, and smooth out any wrinkles or bubbles.
Then, place the backing of the vinyl onto your project. The tape or contact paper will hold the vinyl in place, making it easier to transfer without shifting or wrinkling.
Gravity
You might think this is a joke, but gravity can be a helpful tool in heat transfer vinyl applications. Simply lay your project flat on a table or other surface, and use the weight of the vinyl itself to hold it in place while you peel off the backing and transfer it to your project.
Final Thoughts
Cricut weeding is an essential step in the heat transfer and vinyl application process, and it can certainly be a tedious and time-consuming task. However, with the right tools, techniques, and mindset, you can make the weeding process faster, easier, and more enjoyable.
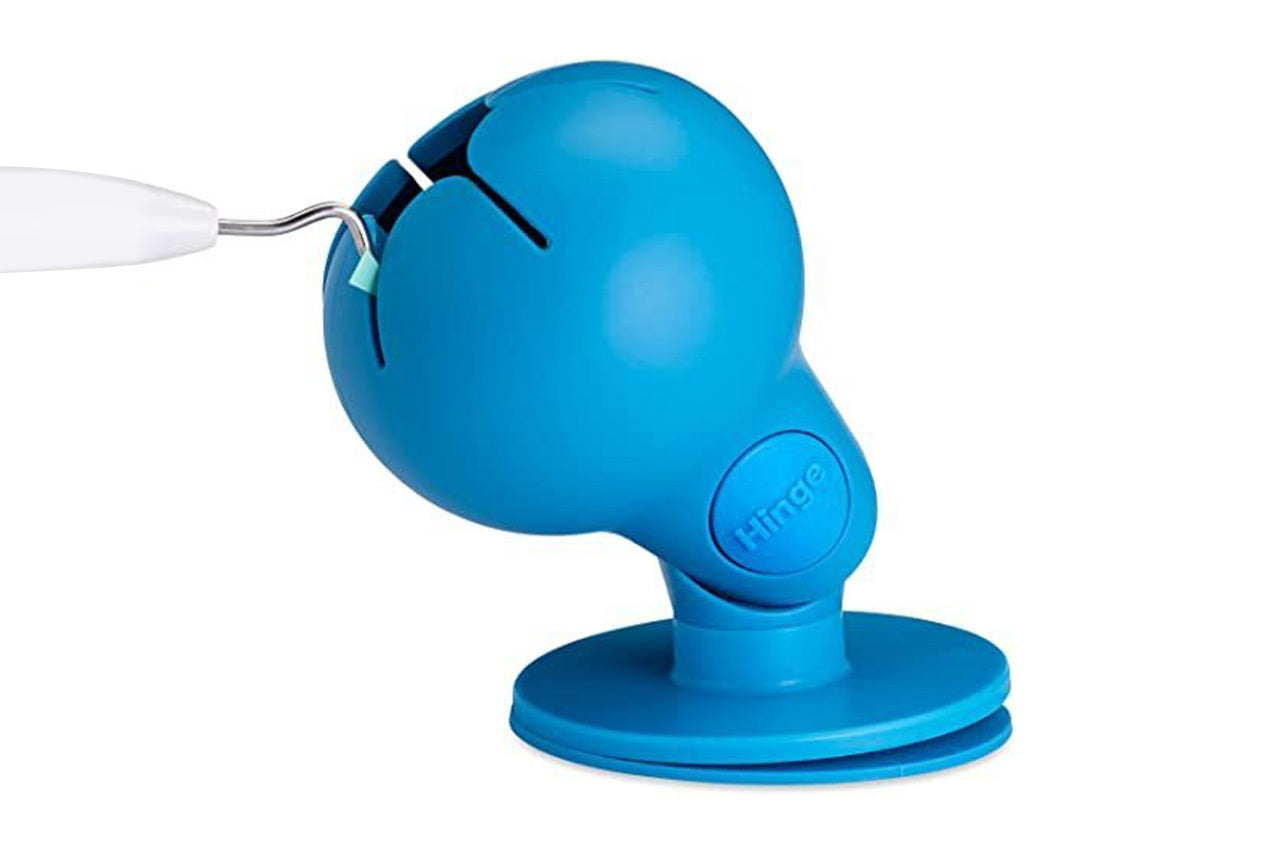
Get your Cricut weeding game on point with Tweexy! Streamline your DIY projects with our innovative nail polish holder that doubles as a weeding tool. Order now and experience hassle-free weeding like never before!


