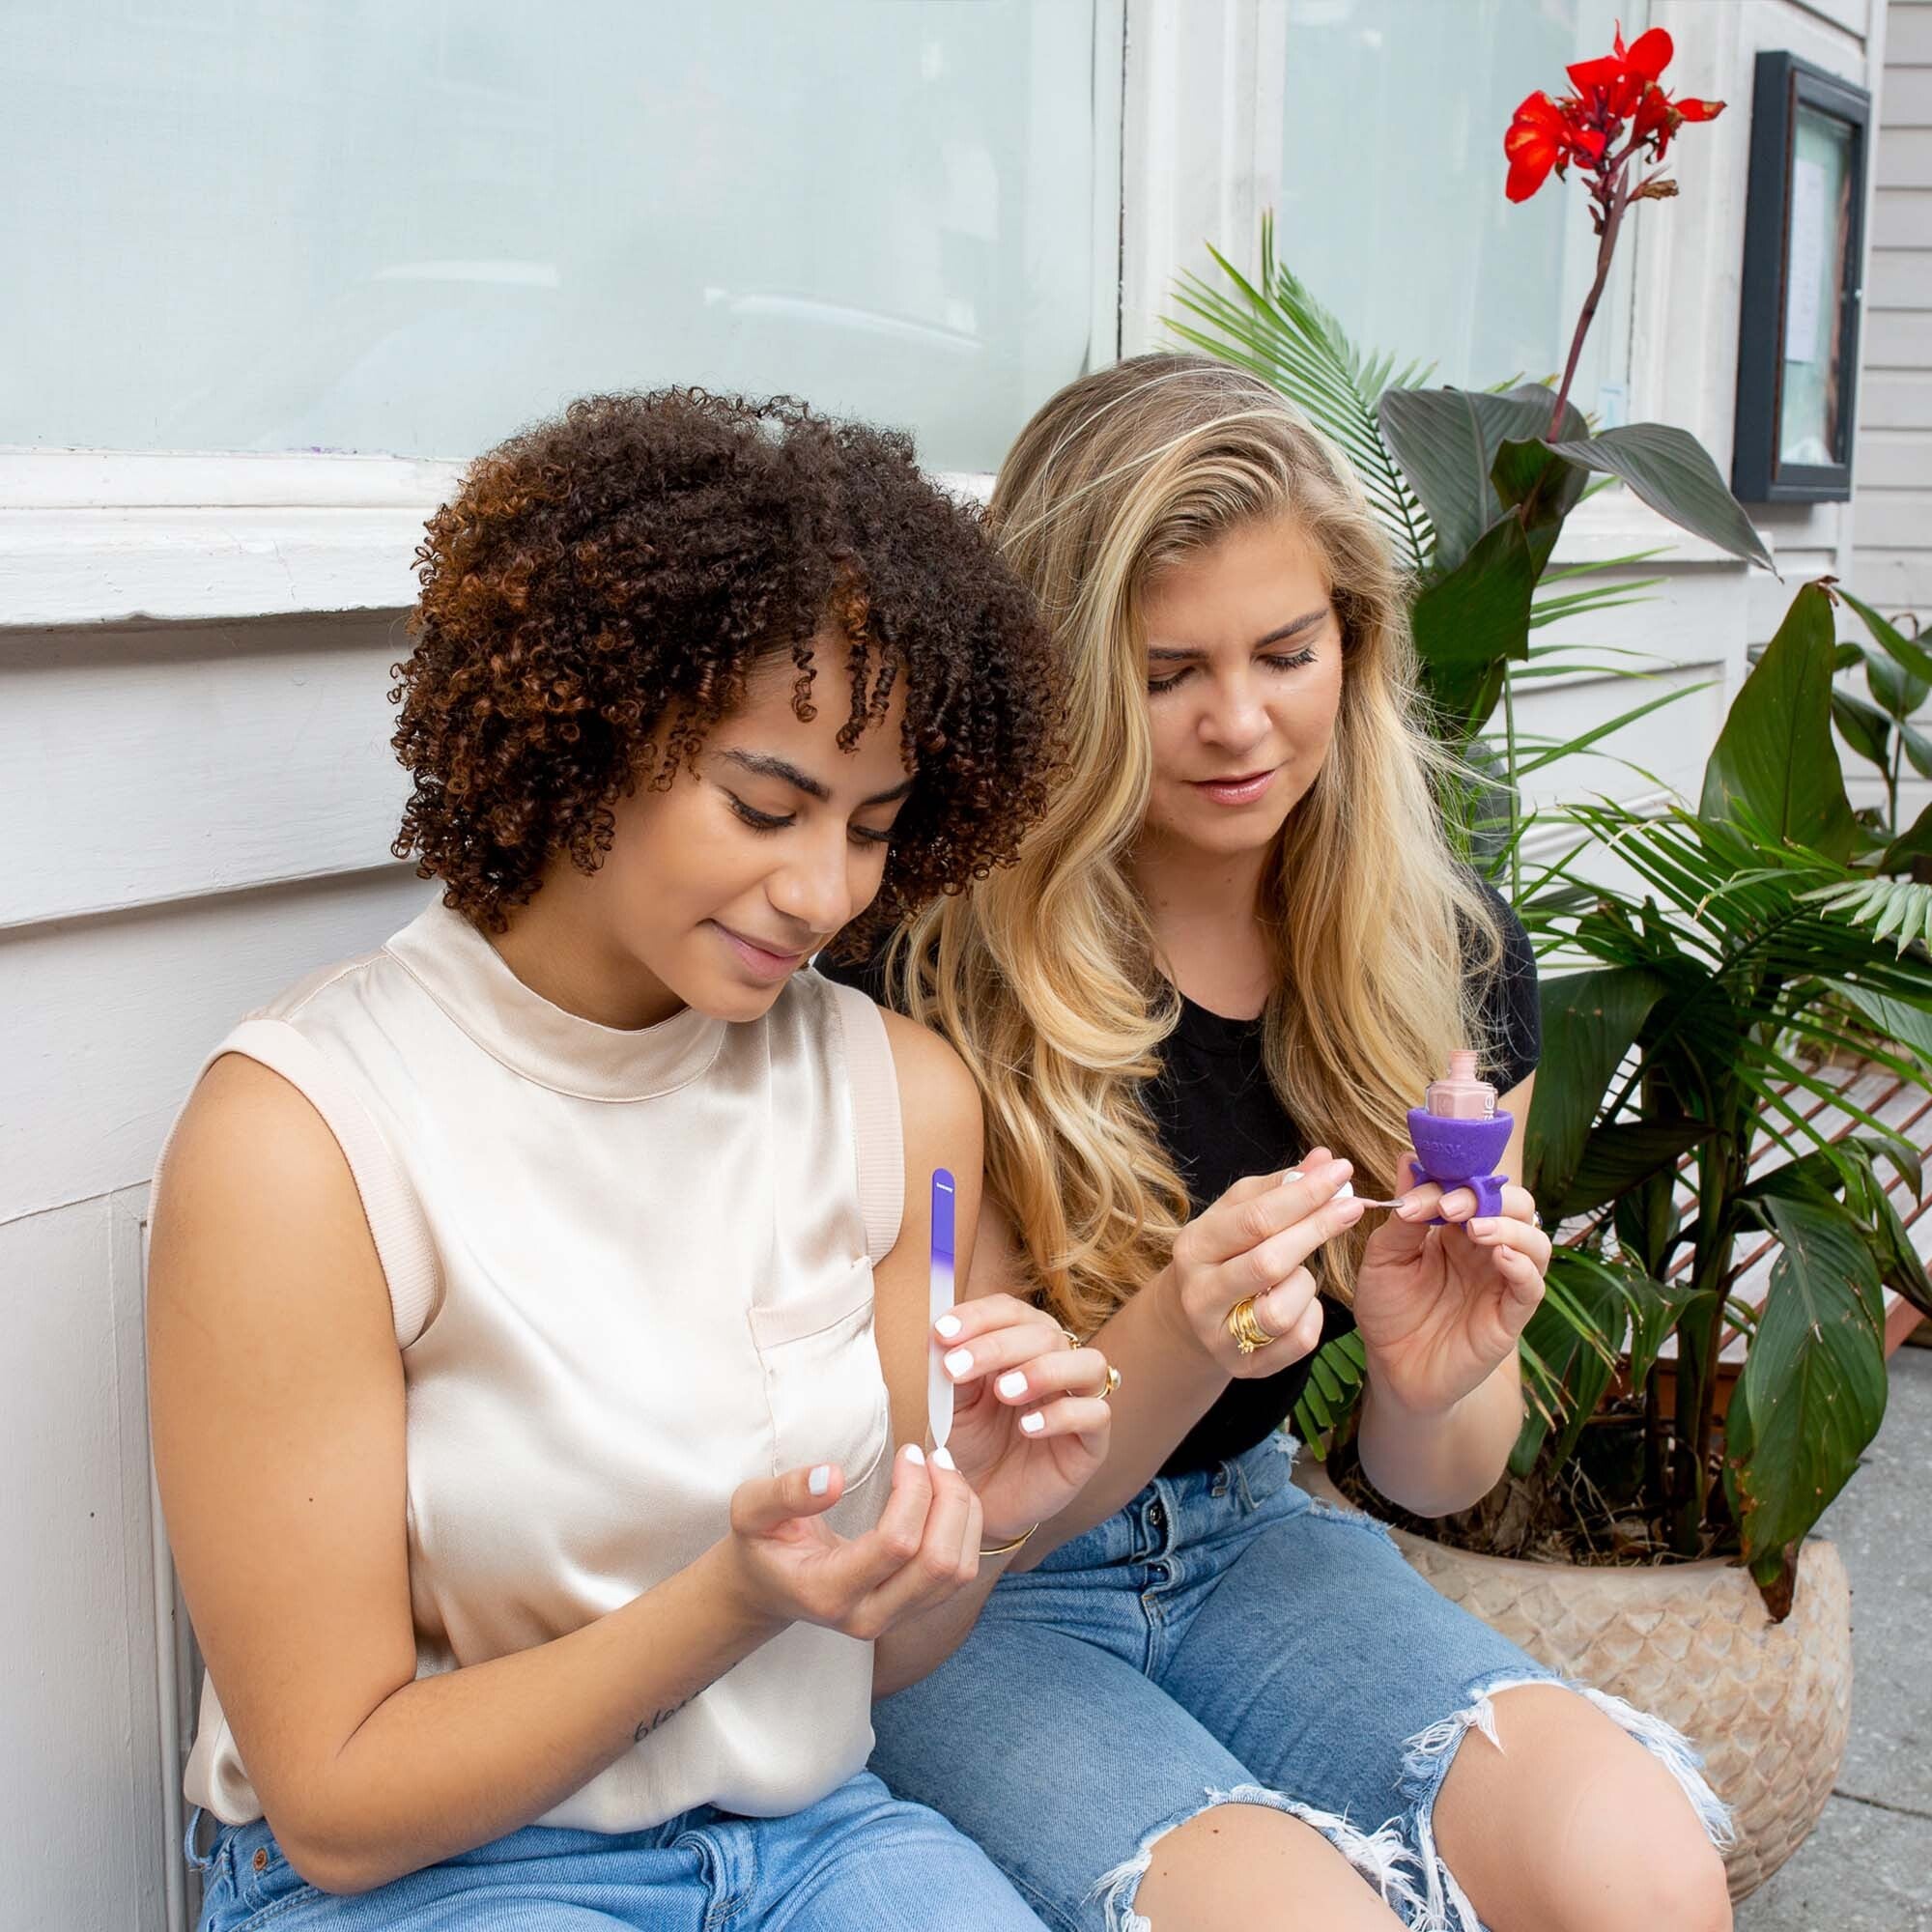
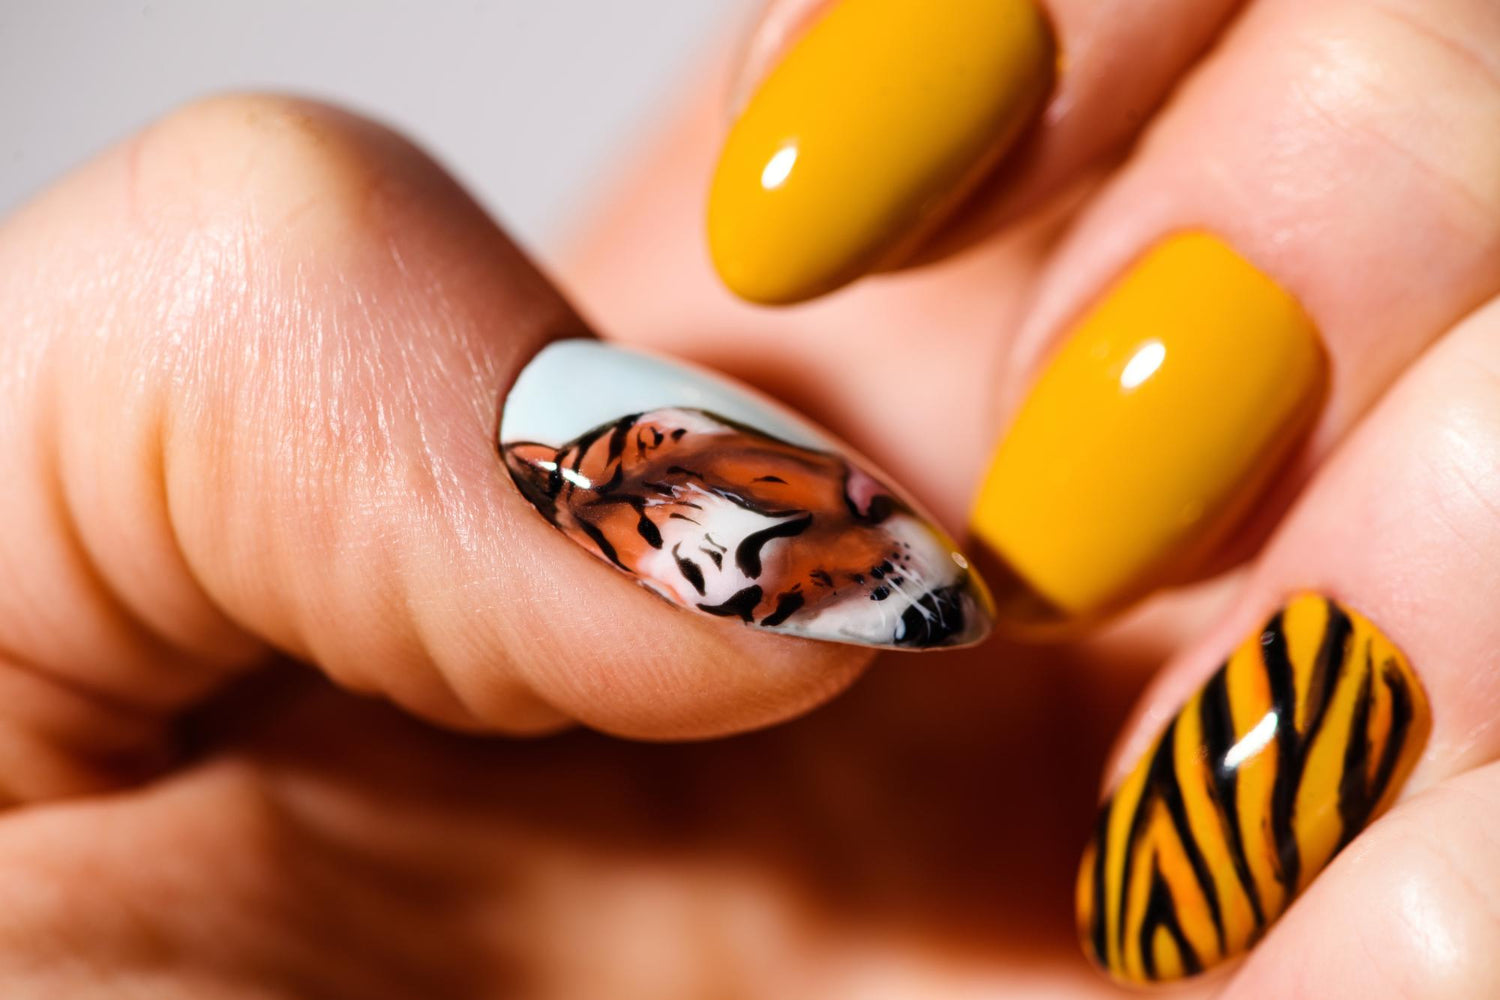
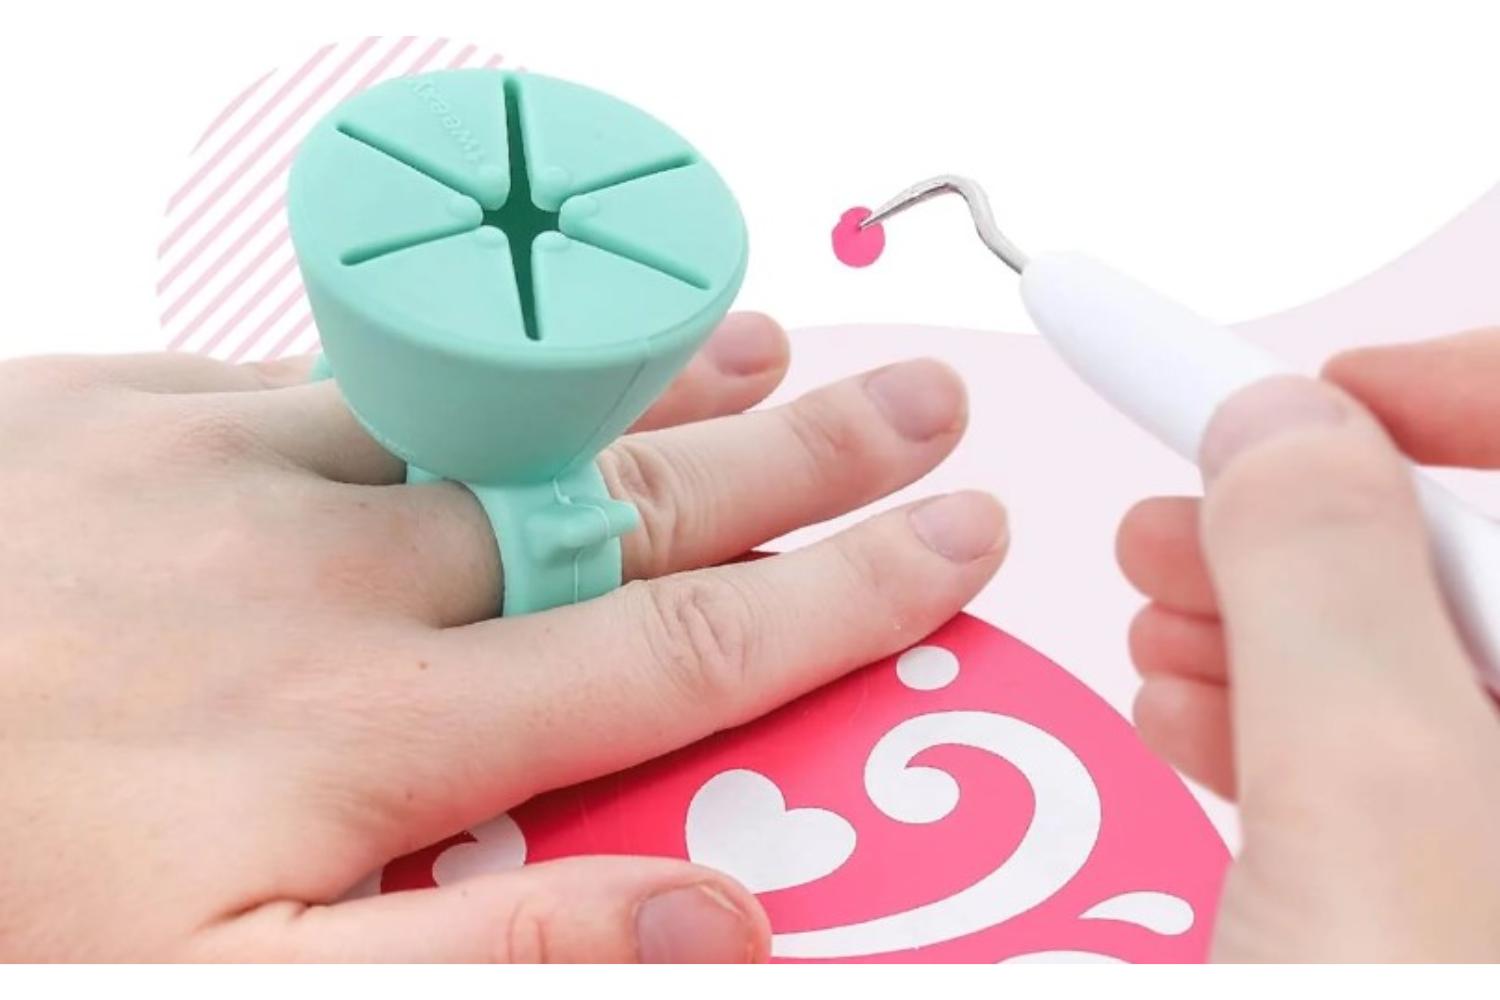
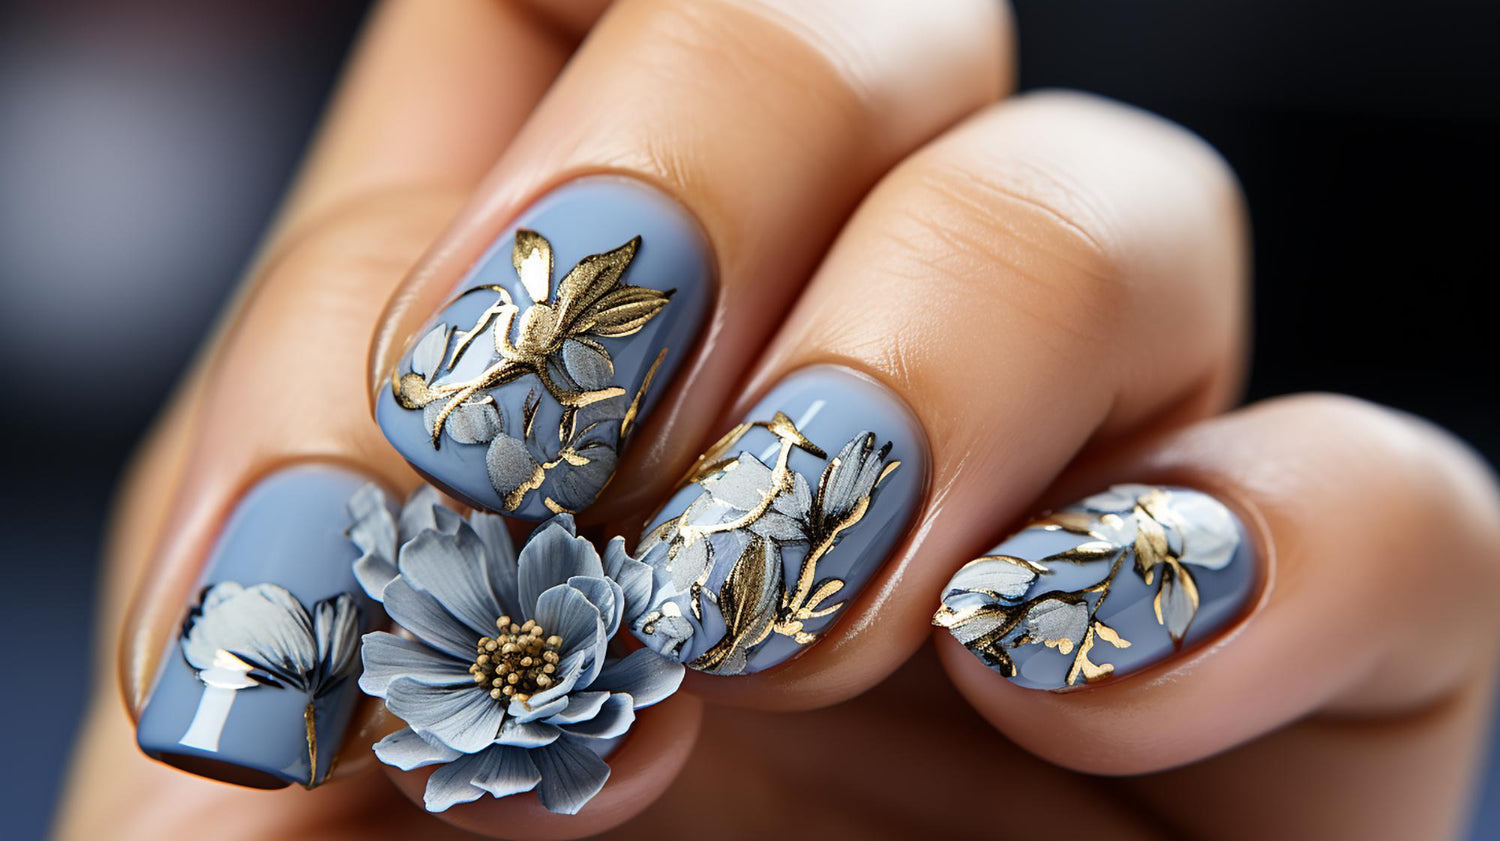
The world of nail art offers an incredible array of techniques that allow you to showcase your creativity and style. One such technique, nail stamping, has gained immense popularity for its ability to create intricate and stunning designs in just a few steps. However, as exciting and satisfying as nail stamping can be, it can sometimes be challenging to manage nail polishes, stamping plates, and stampers without a secure and steady setup. That's where our original wearable nail polish holder comes to the rescue, making nail stamping an organized, hassle-free, and enjoyable experience.
In this article, we will guide you through the process of nail stamping, from the basic tools and supplies needed to the specific techniques that will elevate your manicure game. We'll also highlight the role of our wearable nail polish holder in streamlining and simplifying the nail stamping experience, ensuring that your creative endeavors result in stunning, professional-looking nail art that will leave your friends and fellow nail art enthusiasts in awe.
So, whether you're an experienced nail artist eager to embrace new styles or a curious beginner looking to dip your toes into nail stamping, we've got you covered. Get ready to master the art of nail stamping with the help of Tweexy's wearable nail polish holder, and let's transform your nails into true masterpieces worthy of envy.
1. Nail Stamping Essentials: Tools and Supplies
To succeed in the world of nail stamping, it's crucial to understand the essential tools and supplies required for this nail art technique. Here's a rundown of the must-have items:
- Stamping Plate: These metal plates feature engraved designs that will be transferred onto your nails. They come in various themes and patterns to suit your creative preferences.
- Stamper: A rubber or silicone tool used for picking up the design from the stamping plate and transferring it to the nail.
- Scraper: A plastic or metal tool that helps remove excess nail polish from the stamping plate, revealing the desired design.
- Nail Polish: While some specific stamping polishes are recommended for optimal results, many regular nail polishes can also work. Our wearable nail polish holder can accommodate a wide range of nail polish bottle shapes and sizes, ensuring a secure grip during your stamping sessions.
- Top Coat: A transparent layer applied over the stamped design to protect and enhance its appearance.
2. Nail Stamping Techniques: From Basics to Pro Tips
Now that we've covered the essential tools and supplies for nail stamping, let's explore some techniques to hone your skills and create stunning manicures:
- Prepare Your Nails: Start with clean, well-shaped nails. Apply a base coat, followed by your choice of base polish color. Make sure the polish is fully dry before proceeding to the stamping process.
- Apply Polish to the Stamping Plate: Select your desired design on the stamping plate and apply a generous amount of nail polish over it. The wearable nail polish holder will keep your polish bottle steady, making application to the plate mess-free and straightforward.
- Scrape and Stamp: Using the scraper, swipe across the stamping plate to remove excess polish, leaving the design filled with color. Press the stamper onto the plate, picking up the design. Work quickly as the polish dries fast.
- Transfer the Design: Carefully position the stamper over your nail and gently roll it across the nail surface to transfer the design. Our wearable nail polish holder is ideal for keeping your polish bottle close at hand and ready for any touch-ups during the stamping process.
- Seal Your Masterpiece: Once the stamped design is dry, apply a top coat to protect and seal the artwork, ensuring a long-lasting manicure.
3. Experimenting with Advanced Nail Stamping Techniques
As you become more comfortable with the basics of nail stamping, you can start experimenting with advanced techniques and styles for even more impressive results:
- Layered Stamping: Using multiple stamping plates, create a multi-layered design by stamping different patterns and colors on top of one another. Our wearable nail polish holder can hold several polish bottles at once, making it easy to manage different shades during the layering process.
- Reverse Stamping: Paint the design directly onto the stamper instead of the stamping plate, allowing for more accurate color placement. After the polish dries, transfer the design to your nail. Tweexy's steady grip on your polish bottle ensures precision during the reverse stamping process.
4. Nail Stamping Troubleshooting and Tips
Despite the simple steps, nail stamping can sometimes be challenging, especially for beginners. Here are some troubleshooting tips and tricks:
- Cleaning Your Tools: Use pure acetone to clean the stamping plate, scraper, and stamper before and after each use. Clean tools ensure better polish pick-up and transfer.
- Proper Nail Polish Consistency: Choose nail polishes with a slightly thicker consistency that dries slower, making them more manageable for stamping.
- Practice Makes Perfect: Experiment with different polish brands, stamping plates, and techniques to find the right combination that works best for you. The more you practice, the better your results will be.
Conclusion
Mastering the art of nail stamping is achievable with the right tools, techniques, and the invaluable support of our original wearable nail polish holder. By following our detailed guide and harnessing the convenience of our unique product, you can elevate your manicure game and create stunning, professional-looking nail art that will leave you feeling proud and inspired.
Embrace your creative side and embark on a dazzling journey of self-expression through nail stamping, all while enjoying the support and convenience of Tweexy's wearable nail polish holder. Happy stamping!


