

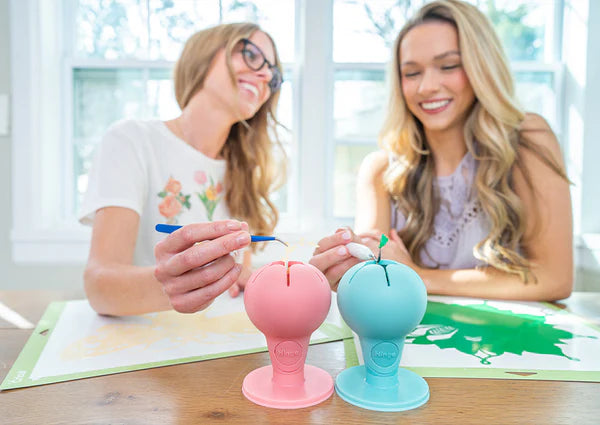
Weeding vinyl can be a fun and rewarding part of crafting, but it can also come with its own set of challenges. Weeding means taking away excess vinyl that isn’t part of your design. Understanding how to weed vinyl the right way ensures your designs look clean and professional.
Even though weeding might seem simple, it requires some skill and the right tools to do it well. Without the proper knowledge, you may end up damaging your vinyl or feeling frustrated by the process. It’s important to learn best practices for weeding so you can enjoy smoother crafting experiences.
In this article, we’ll cover everything you need to know about weeding vinyl. From understanding the challenges to using the right tools and techniques, we’ll share tips to help you get perfect results every time. With these best practices, you can turn vinyl weeding into a breeze and create stunning designs with ease.
Choosing the Perfect Location for Your Crafting Station
Finding the right spot for your crafting station is the first step toward creating an efficient craft space. Look for an area in your home that receives good natural light. Natural light helps you see colors accurately and reduces eye strain while working on intricate projects. If natural light is not available, make sure to have ample artificial lighting to brighten your space.
Consider the size of the area as well. You need enough room to comfortably move around and keep your supplies within reach. A quiet corner in a living room, a section of a spare bedroom, or even a well-organized closet can work as a crafting station. The key is to pick a place where you can work uninterrupted and easily access your tools and materials.
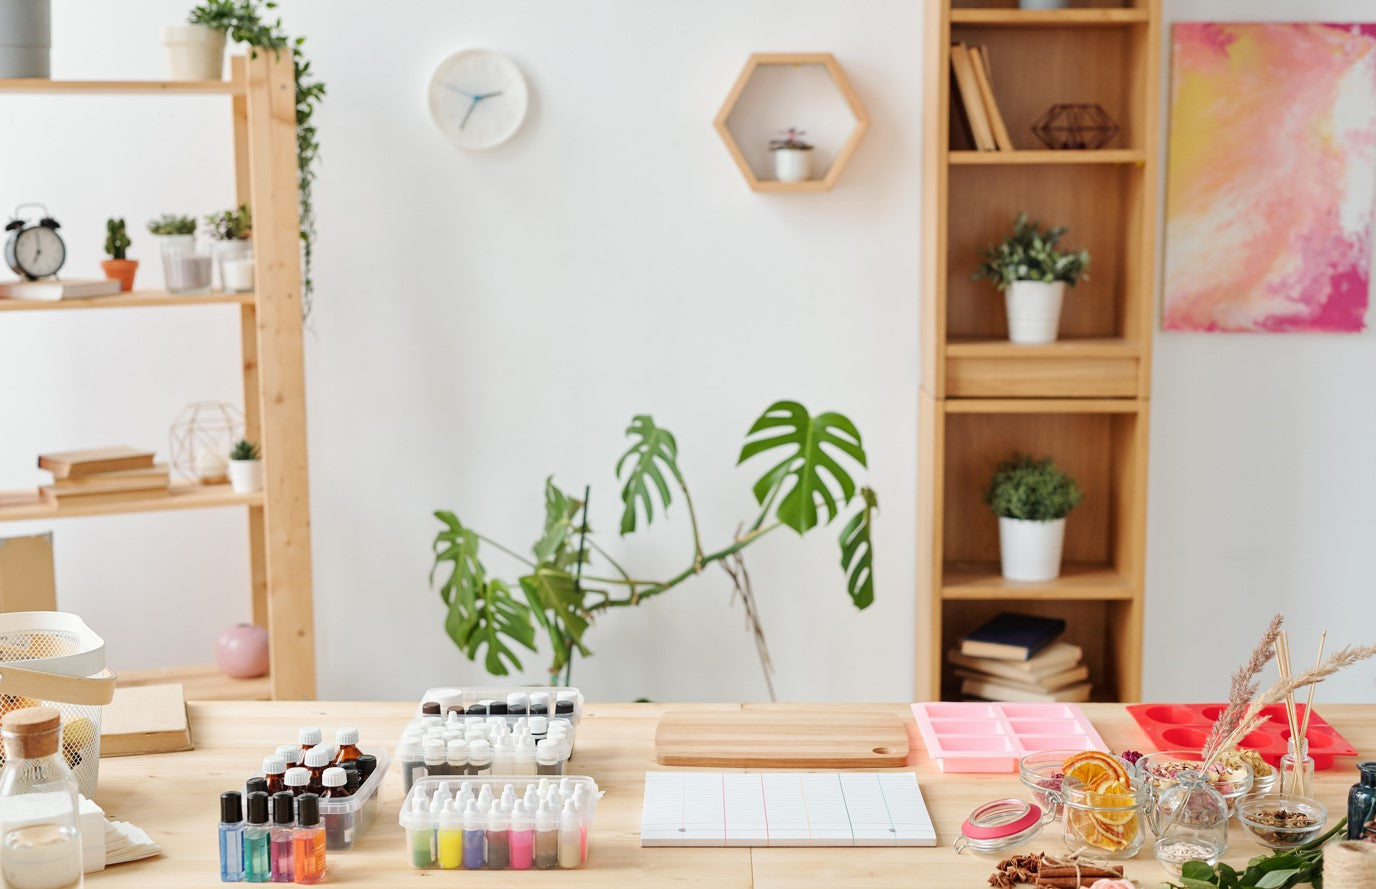
Essential Furniture and Storage Solutions
Having the right furniture is essential for a functional craft space. Start with a sturdy desk or table that provides ample workspace. Make sure it is at a comfortable height to avoid straining your back. A table with built-in storage can be very useful for keeping your supplies organized and within reach while working.
Storage solutions are equally important. Use shelves, bins, and drawers to organize your tools and materials. Clear containers are great for storing smaller items like beads, buttons, and thread, as they allow you to see what’s inside without opening them. Wall-mounted pegboards can hold tools and keep them easily accessible. Labeling your storage bins and drawers helps you quickly find what you need, saving time and keeping the space tidy.
Step-by-Step Guide to Weeding Vinyl Efficiently
Weeding vinyl can seem tricky, but with a step-by-step approach, it gets easier. Start by securing your vinyl on a flat surface with the design facing up. Use a good cutting machine to ensure clean cuts; this makes weeding simpler. Once your design is cut, peel away the excess vinyl from the edges, leaving the main design intact.
Next, use a weeding tool to carefully lift and remove the small, unwanted pieces from inside the design. Work slowly and use a bright light to see the tiny details clearly. It helps to start from a corner and move inward, working on one section at a time. Tweezers can be really useful for picking out tiny bits. Remember to be patient; rushing can cause mistakes and damage your design.
Tips and Tricks for Troubleshooting Common Weeding Issues
Everyone faces issues while weeding vinyl, but there are ways to fix them. One common problem is the vinyl not lifting cleanly. If this happens, check if your blade is sharp enough and the settings are correct on your cutting machine. Using a slightly higher pressure setting can help achieve cleaner cuts.
Sometimes, small pieces of vinyl may stick to unwanted areas. A piece of transfer tape can be helpful here. Lightly pressing it over your design can lift off the small, stray pieces without damaging the rest of the vinyl. Another issue could be tears in the vinyl. If this happens, it might be due to too much pressure or a dull blade. Adjusting the settings and using fresh, sharp tools will make a big difference in getting smooth results.
Conclusion
Mastering the art of weeding vinyl involves understanding the process, having the right tools, and knowing how to solve common issues. By following a step-by-step guide, we can make the process much easier and more enjoyable. Weeding vinyl effectively not only saves time but also ensures our crafts look professional and neat.
Taking the time to prepare, use proper tools, and address issues as they arise will lead to better results. Creating beautiful and precise weeding vinyl designs becomes much simpler with a bit of practice and patience. If you’re looking for tools to help make your crafting smoother and more efficient, explore the innovative products available at Tweexy. Whether you’re a beginner or an experienced crafter, Tweexy has something to enhance your crafting experience.