


A well-manicured set of nails can make a big difference in your overall appearance. Going to a salon for a professional manicure can be expensive and time-consuming. However, you can achieve a salon-quality manicure right at home with the right tools and techniques. In this article, we will provide step-by-step instructions on how to do an at-home manicure that looks professional.
Materials Needed
Before you begin, gather all the necessary materials. You will need a nail file, cuticle pusher, cuticle trimmer, nail polish remover, base coat, nail polish, top coat, and a small brush.
Step 1: Remove Old Nail Polish
Start by removing any old nail polish from your nails. Soak a cotton ball in nail polish remover and gently rub it over each nail until all the old polish is gone. Make sure to remove any excess polish from the edges of your nails.
Step 2: File and Shape Your Nails
Next, file your nails to your desired shape. Use a nail file to gently shape your nails, starting at the outer edge and moving towards the center. Be sure to file in one direction rather than back and forth to avoid damaging your nails. Once you have filed your nails to the desired shape, use the nail file to smooth any rough edges.
Step 3: Soak Your Nails
Fill a bowl with warm water and add a few drops of your favorite essential oil. Soak your nails in warm water for about five to ten minutes. This will soften your cuticles and make it easier to push them back.
Step 4: Push Back Your Cuticles
After soaking your nails, use a cuticle pusher to push back your cuticles gently. Be sure to push gently to avoid damaging your nails. Once you have pushed back the cuticles, use a cuticle trimmer to remove any excess cuticles. Be careful not to cut too much, leading to bleeding and infection.
Step 5: Apply Base Coat
Once you have trimmed your cuticles, it's time to apply the base coat. The base coat will provide a smooth surface for the nail polish to adhere to and help prevent stains on your nails. Apply a thin layer of base coat to each nail and allow it to dry completely before moving on to the next step.
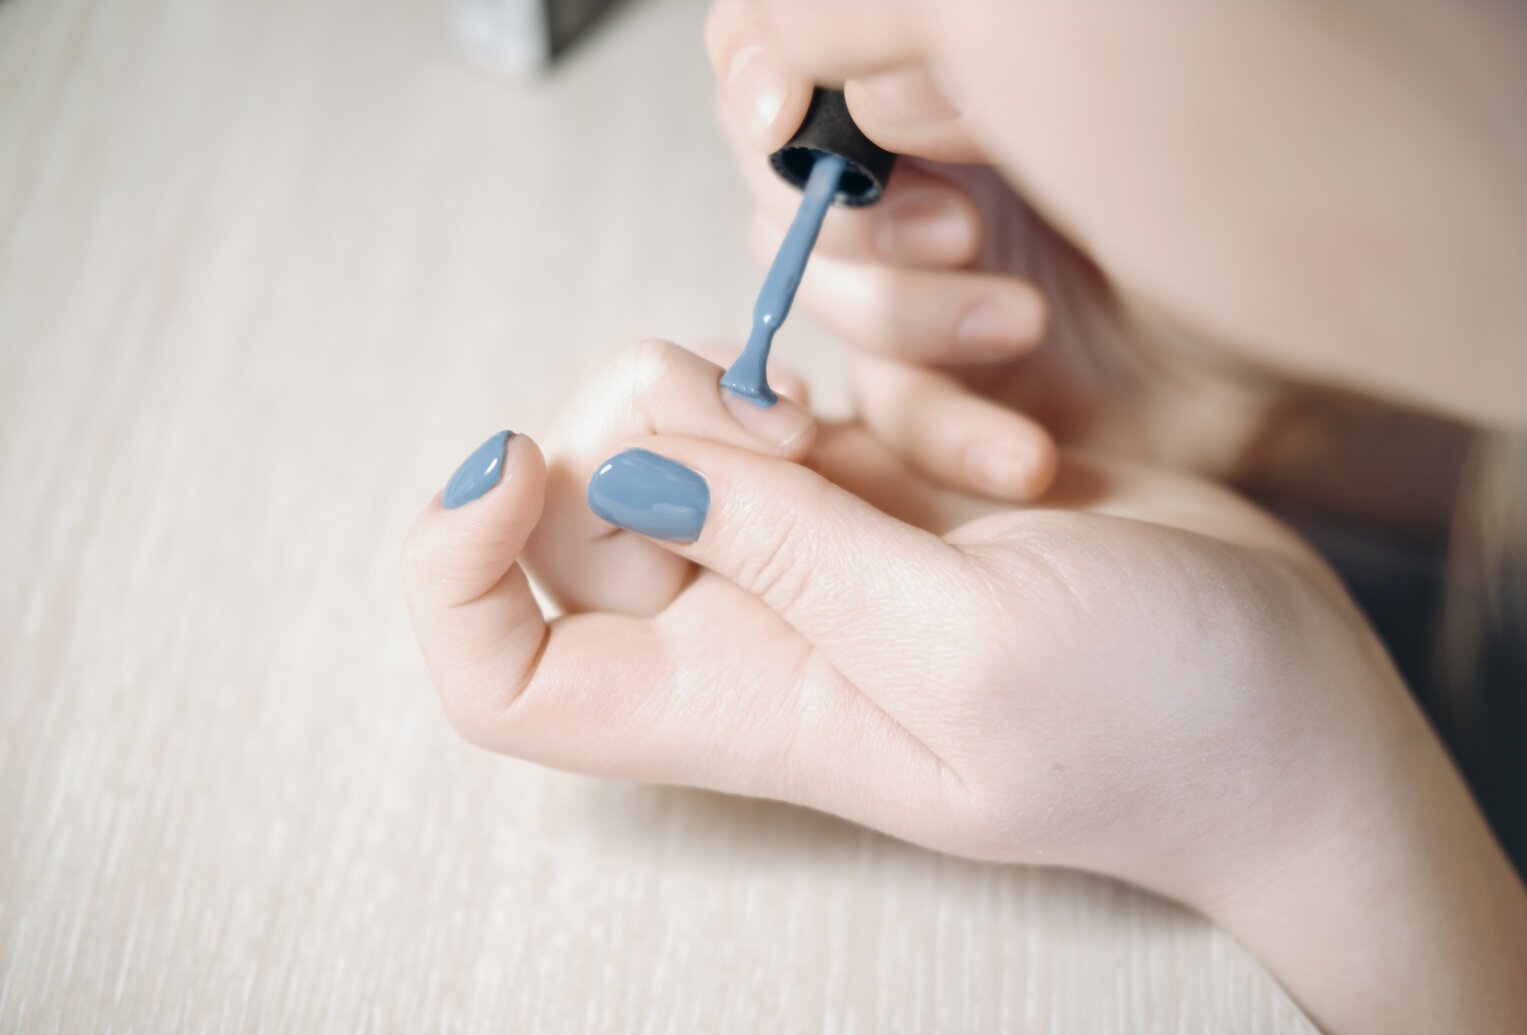
Step 6: Apply Nail Polish
Choose your favorite nail polish color and apply a thin coat to each nail. Be sure to start at the base of the nail and work your way up to the tip, using long, even strokes. Allow the first coat to dry completely before applying a second coat. If necessary, apply a third coat for full coverage.
Step 7: Use a Small Brush for Clean-Up
If you accidentally get nail polish on your skin, use a small brush dipped in nail polish remover to clean it up. This will help to create a clean and polished look.
Step 8: Apply Top Coat
Once your nail polish is dry, apply a thin layer of top coat to each nail. The top coat will help protect your nails from chipping and give them a high-shine finish. Allow the top coat to dry completely before using your hands.
Conclusion
You can achieve a salon-quality manicure right at home with these simple steps. Remember to take your time and be patient, as rushing can lead to mistakes. By following these steps, you can have beautiful, healthy-looking nails that will make you feel confident and put together.
Meet the Cricut user’s best-kept secret: Tweexy vinyl weeding ring, the best weeding tool for vinyl. This keeps your designs clean and precise and your workspace mess-free. Scrape the vinyl away swiftly, easily, and neatly; remove your scraps by placing your pick in the slits and scraping the vinyl off with ease; and stay comfortable for hours! If you’re looking for the best vinyl weeding ring, look no further than Tweexy! Shop online now!