Painting your nails at home can be a fun and creative way to express yourself. With a little practice and some simple tools, you can create beautiful nail art designs without having to visit a salon. Whether you are looking for basic patterns or more intricate designs, starting with a few easy techniques can boost your confidence and skills.
Creating nail art at home doesn't require a lot of expensive equipment. You can achieve great results with everyday items and a bit of patience. From polka dots to stripes, these designs are simple yet effective ways to make your nails stand out. Plus, doing nail art at home allows you to experiment with different styles and colors at your own pace. You'll soon find that the process is as enjoyable as the final result.
Getting started with nail art might seem tricky, but with the right guidance, you can master it quickly. Each design can be customized to match your mood or outfit, making it a versatile addition to your beauty routine. So, gather your supplies and get ready to transform your nails into mini works of art.
Simple Tools You Need for Nail Art at Home
Creating beautiful nail art at home starts with having the right tools. To achieve professional-looking results, you don’t need expensive gadgets, just a few basic items. First, make sure you have a good quality nail polish remover and cotton pads. These help in prepping your nails by removing any old polish and oil. Next, gather a set of nail files and buffers. These tools help shape your nails and smooth out the surface, preparing them for the polish.
You’ll also need a steady supply of nail polishes in various colors, a clear base coat, and a top coat to protect your design. Nail dotting tools are essential if you’re looking to create intricate patterns; these can be easily bought online or even improvised using items like bobby pins. Additionally, fine brushes come in handy for detailed work. Finally, consider investing in a good cuticle pusher and clipper to keep your nail beds clean and healthy. These simple tools make a big difference in the quality of your at-home manicures.
Step-by-Step Guide to Creating Polka Dot Nails
Polka dot nails are a fun and easy design that can be done at home with minimal tools. First, make sure your nails are clean and prepped. Apply a clear base coat to protect your natural nails and provide a smooth surface for the polish to adhere to. Once the base coat is dry, choose a background color and apply two thin coats, allowing each coat to dry thoroughly.
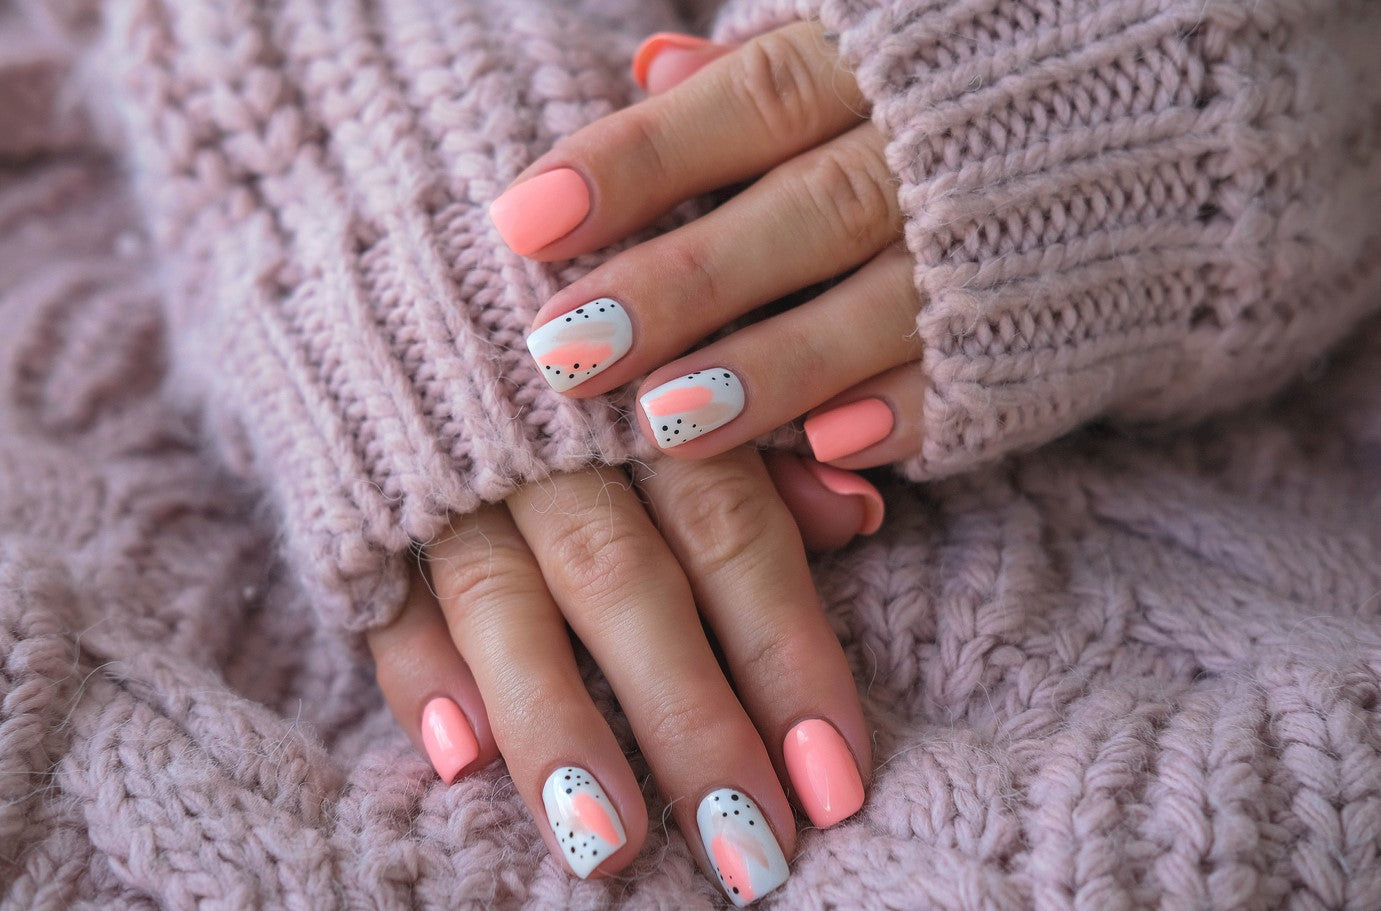
Next, it's time for the dots! Pour a small amount of your chosen dot color onto a clean surface or a piece of foil. Dip your dotting tool or a bobby pin into the polish, and gently press it onto your nails to form dots. You can make all the dots the same size or vary the sizes for a more dynamic look. Space the dots evenly across the nail or creatively scatter them for a more random pattern. After the dots dry, apply a clear top coat to seal in your design and add shine. This simple yet stylish look is perfect for beginners and can be customized with different color combinations to match any outfit or occasion.
Quick and Easy Striped Nail Art with Tape
Creating striped nail art at home is easier than you might think. You just need some thin tape, a few nail polish colors, and a bit of patience. Start by painting a base coat on your nails and let it dry completely. This is important because the tape can peel off the polish if it's not fully dry. Once dried, cut the tape into thin strips and place them on your nails in the pattern you desire.
Next, paint over the tape with a different nail polish color. Make sure to cover the entire nail but try not to apply a thick coat, as too much polish can seep under the tape. After applying the top color, immediately and carefully remove the tape strips to reveal the clean lines. Finally, wait for the polish to dry and apply a clear top coat to seal your design. This easy trick allows you to create neat and stylish stripes on your nails without any fuss.
How to Use Our Products for Perfect Home Manicures
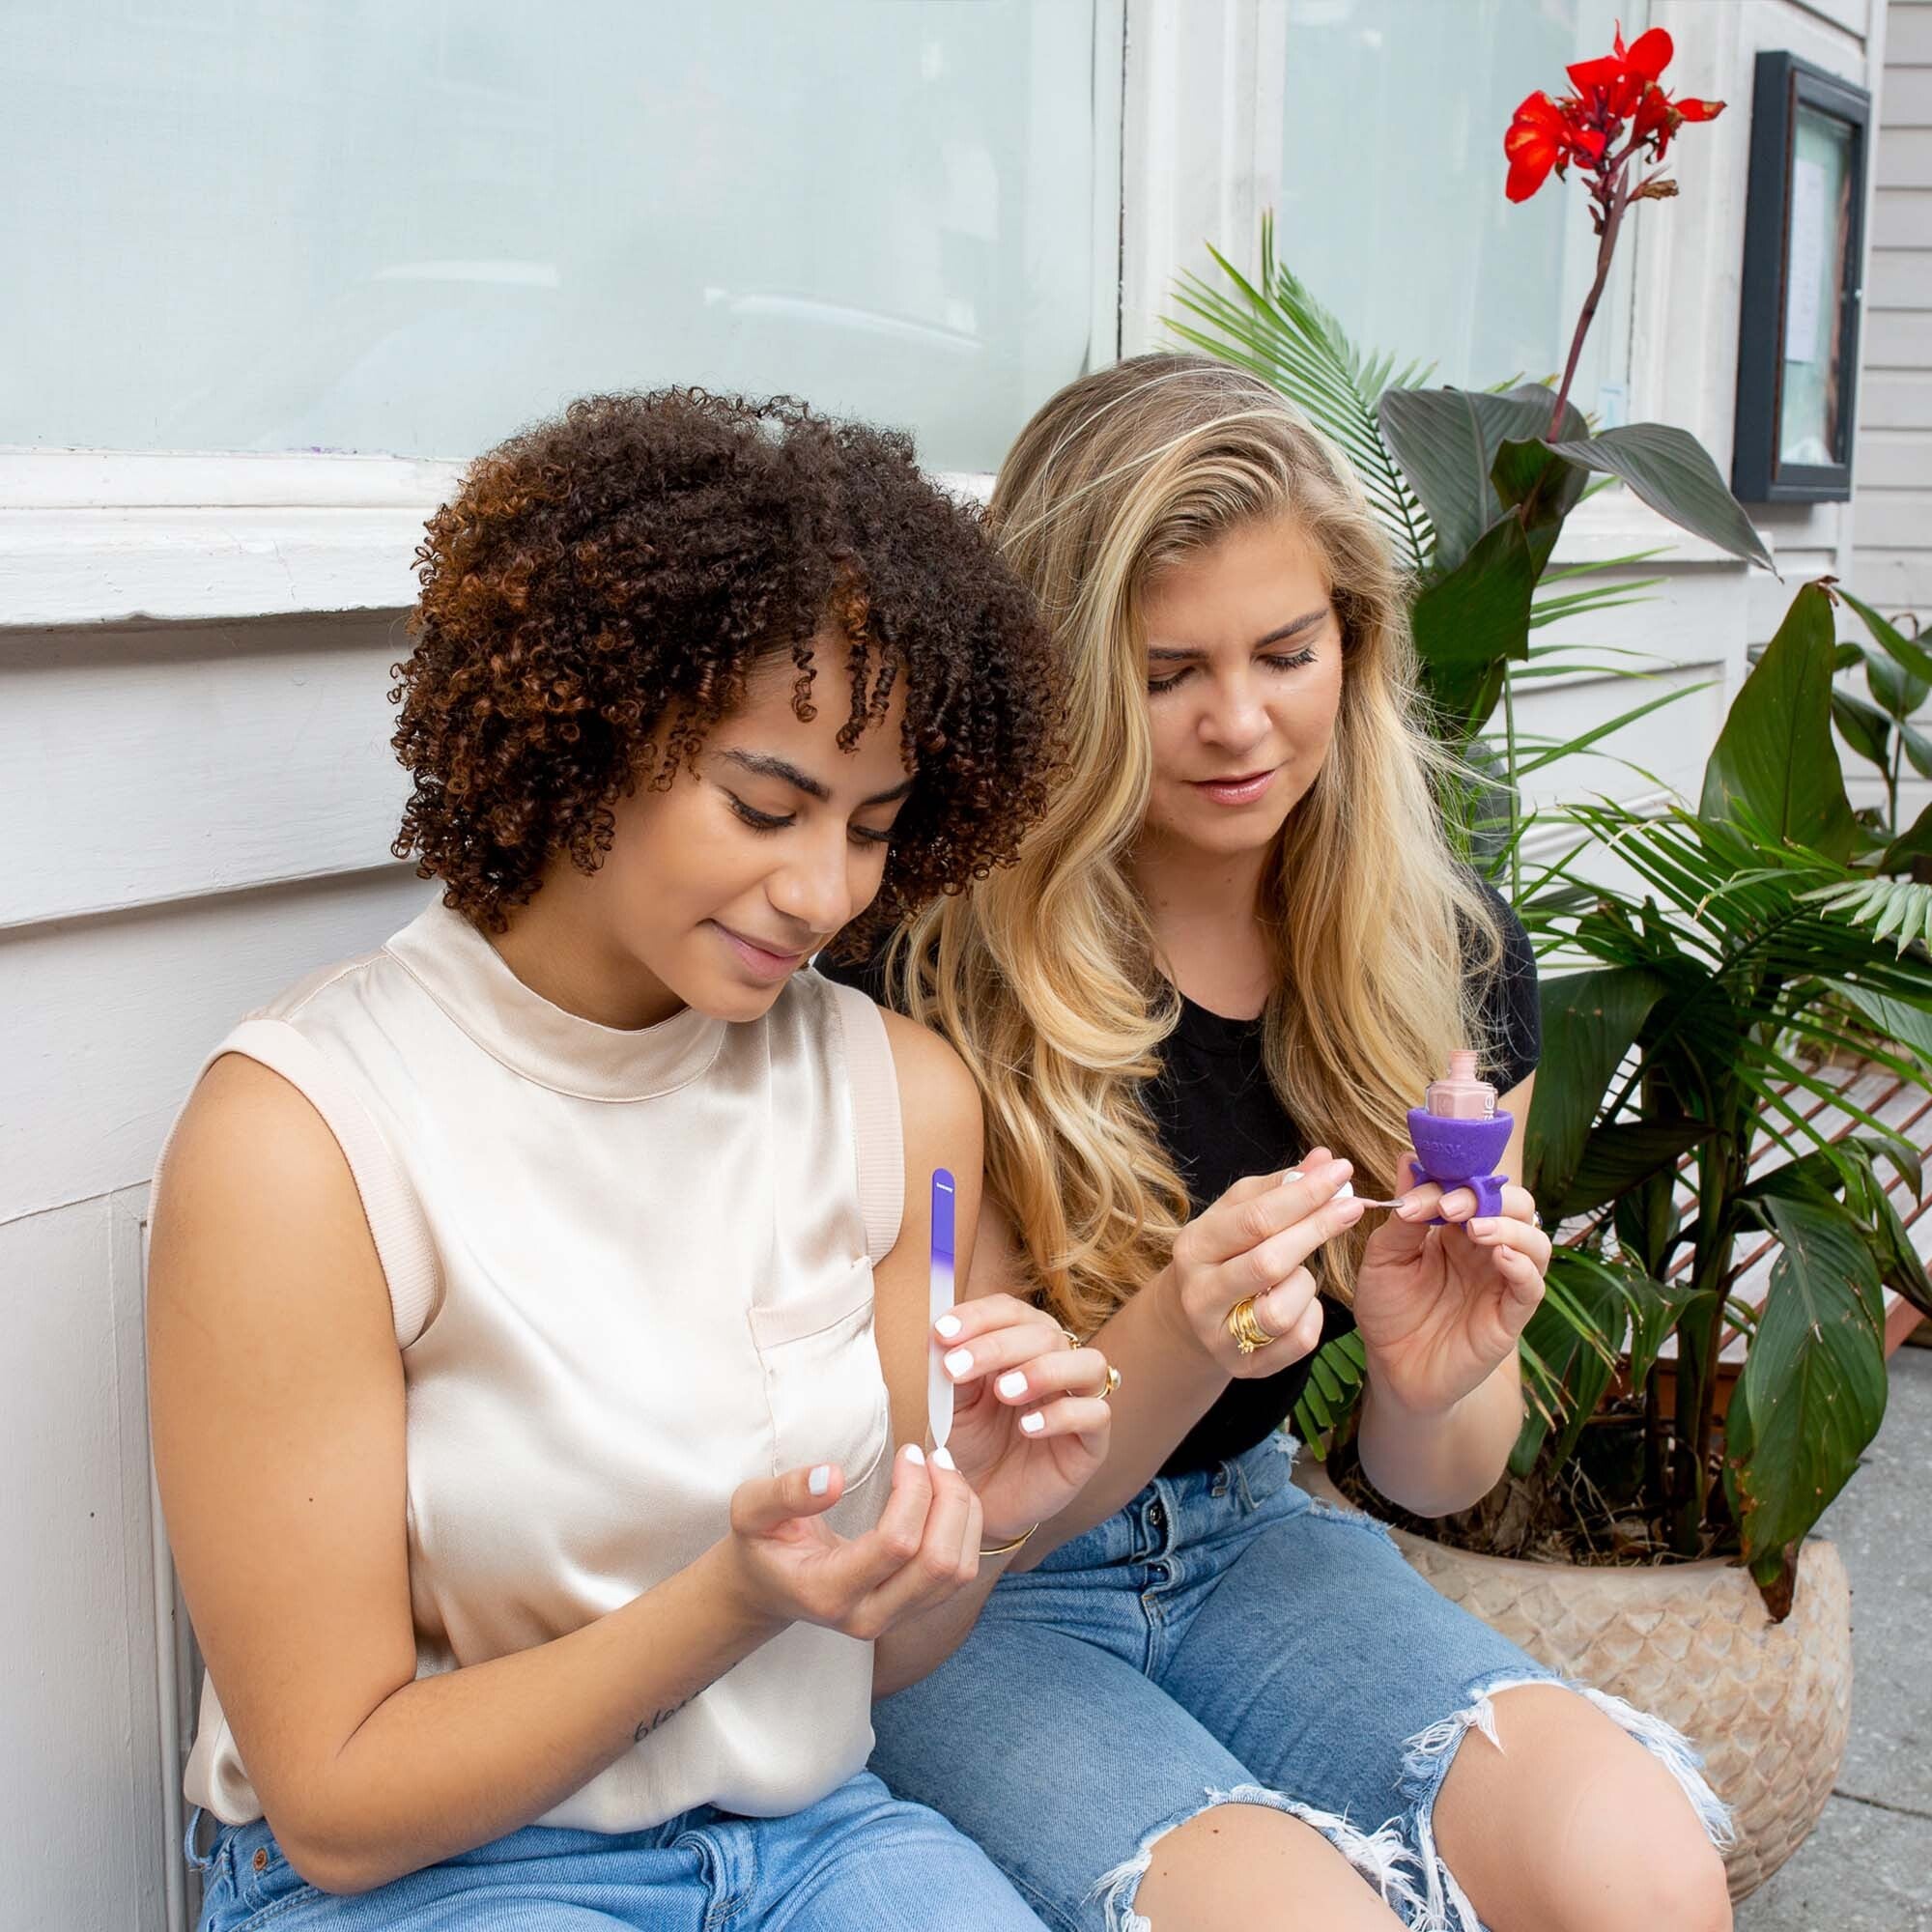
Using our innovative products can make your home manicures even more delightful and efficient. Start with the wearable nail polish holder, which can make the process mess-free. Slide the holder onto your fingers and secure the nail polish bottle in it. This allows you to focus on painting without worrying about spills or needing extra hands.
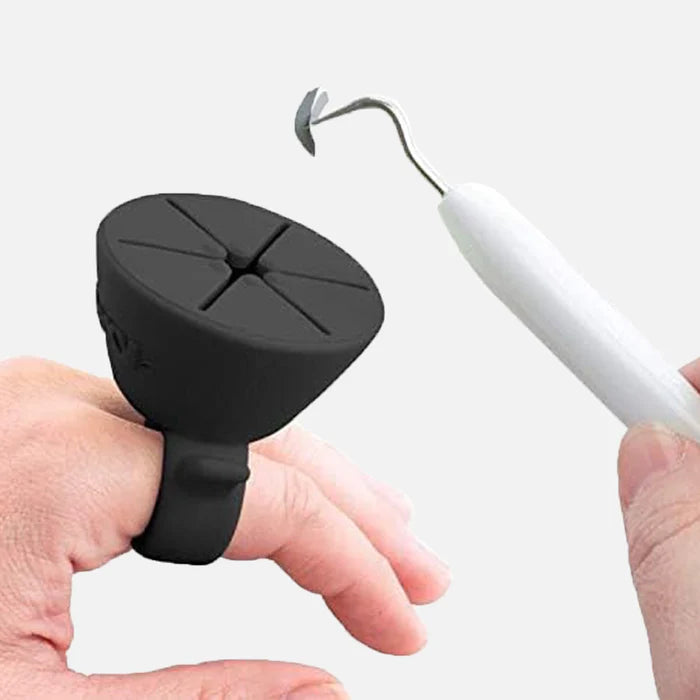
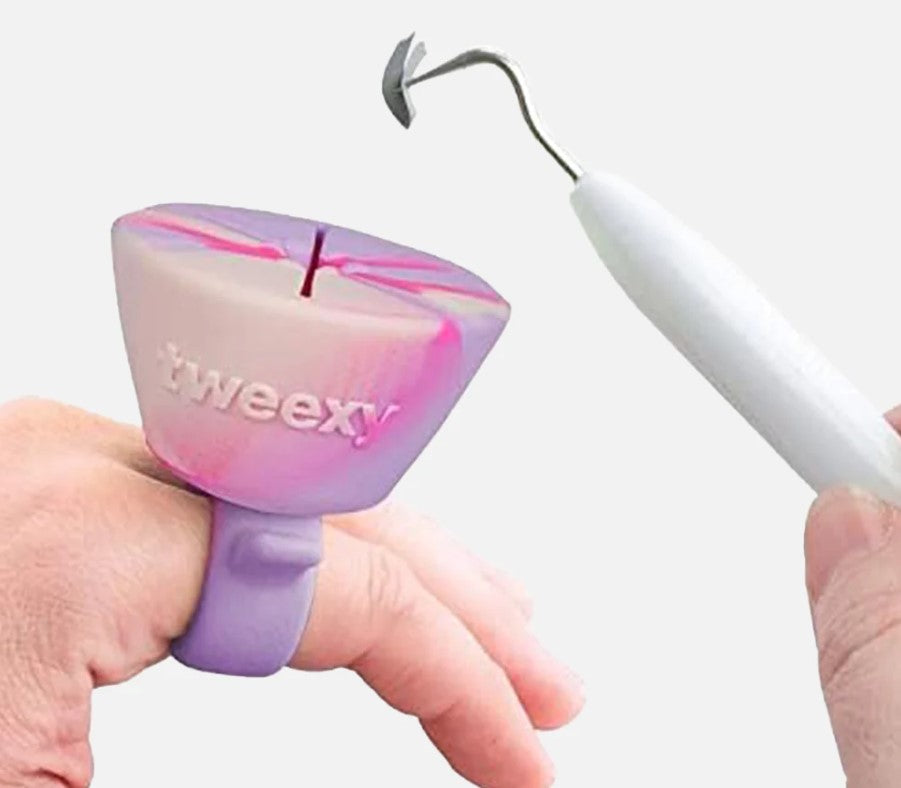
Our wearable weeding vinyl ring is perfect for those who love nail art involving vinyl stencils or stickers. It keeps vinyl pieces organized and easily accessible, so you don’t have to fumble around while trying to create intricate designs. Lastly, the SmartGrip hinge tool can help keep your workspace tidy, holding items in place while you work. These tools are designed to save you time and enhance the quality of your manicure experience.
Conclusion
Creating beautiful and lasting manicures at home doesn’t have to be complicated. With the right tools and a few simple techniques, you can achieve salon-quality results right in your own home. By using easy methods like tape for stripes and relying on innovative tools, your nail art can be both fun and flawless. Taking the time to set up and use these tools properly will make your manicure sessions more enjoyable and efficient.
Remember, a tidy and well-organized workspace enhances creativity and makes the process smoother. If you’re ready to elevate your home manicure game, be sure to explore Tweexy's range of products, including our nail polish holders, weeding vinyl rings, and more, designed to make nail care easier and more enjoyable. Visit Tweexy today to discover how you can bring professional-quality manicures to the comfort of your home. With Tweexy, achieving perfect nails has never been simpler!


