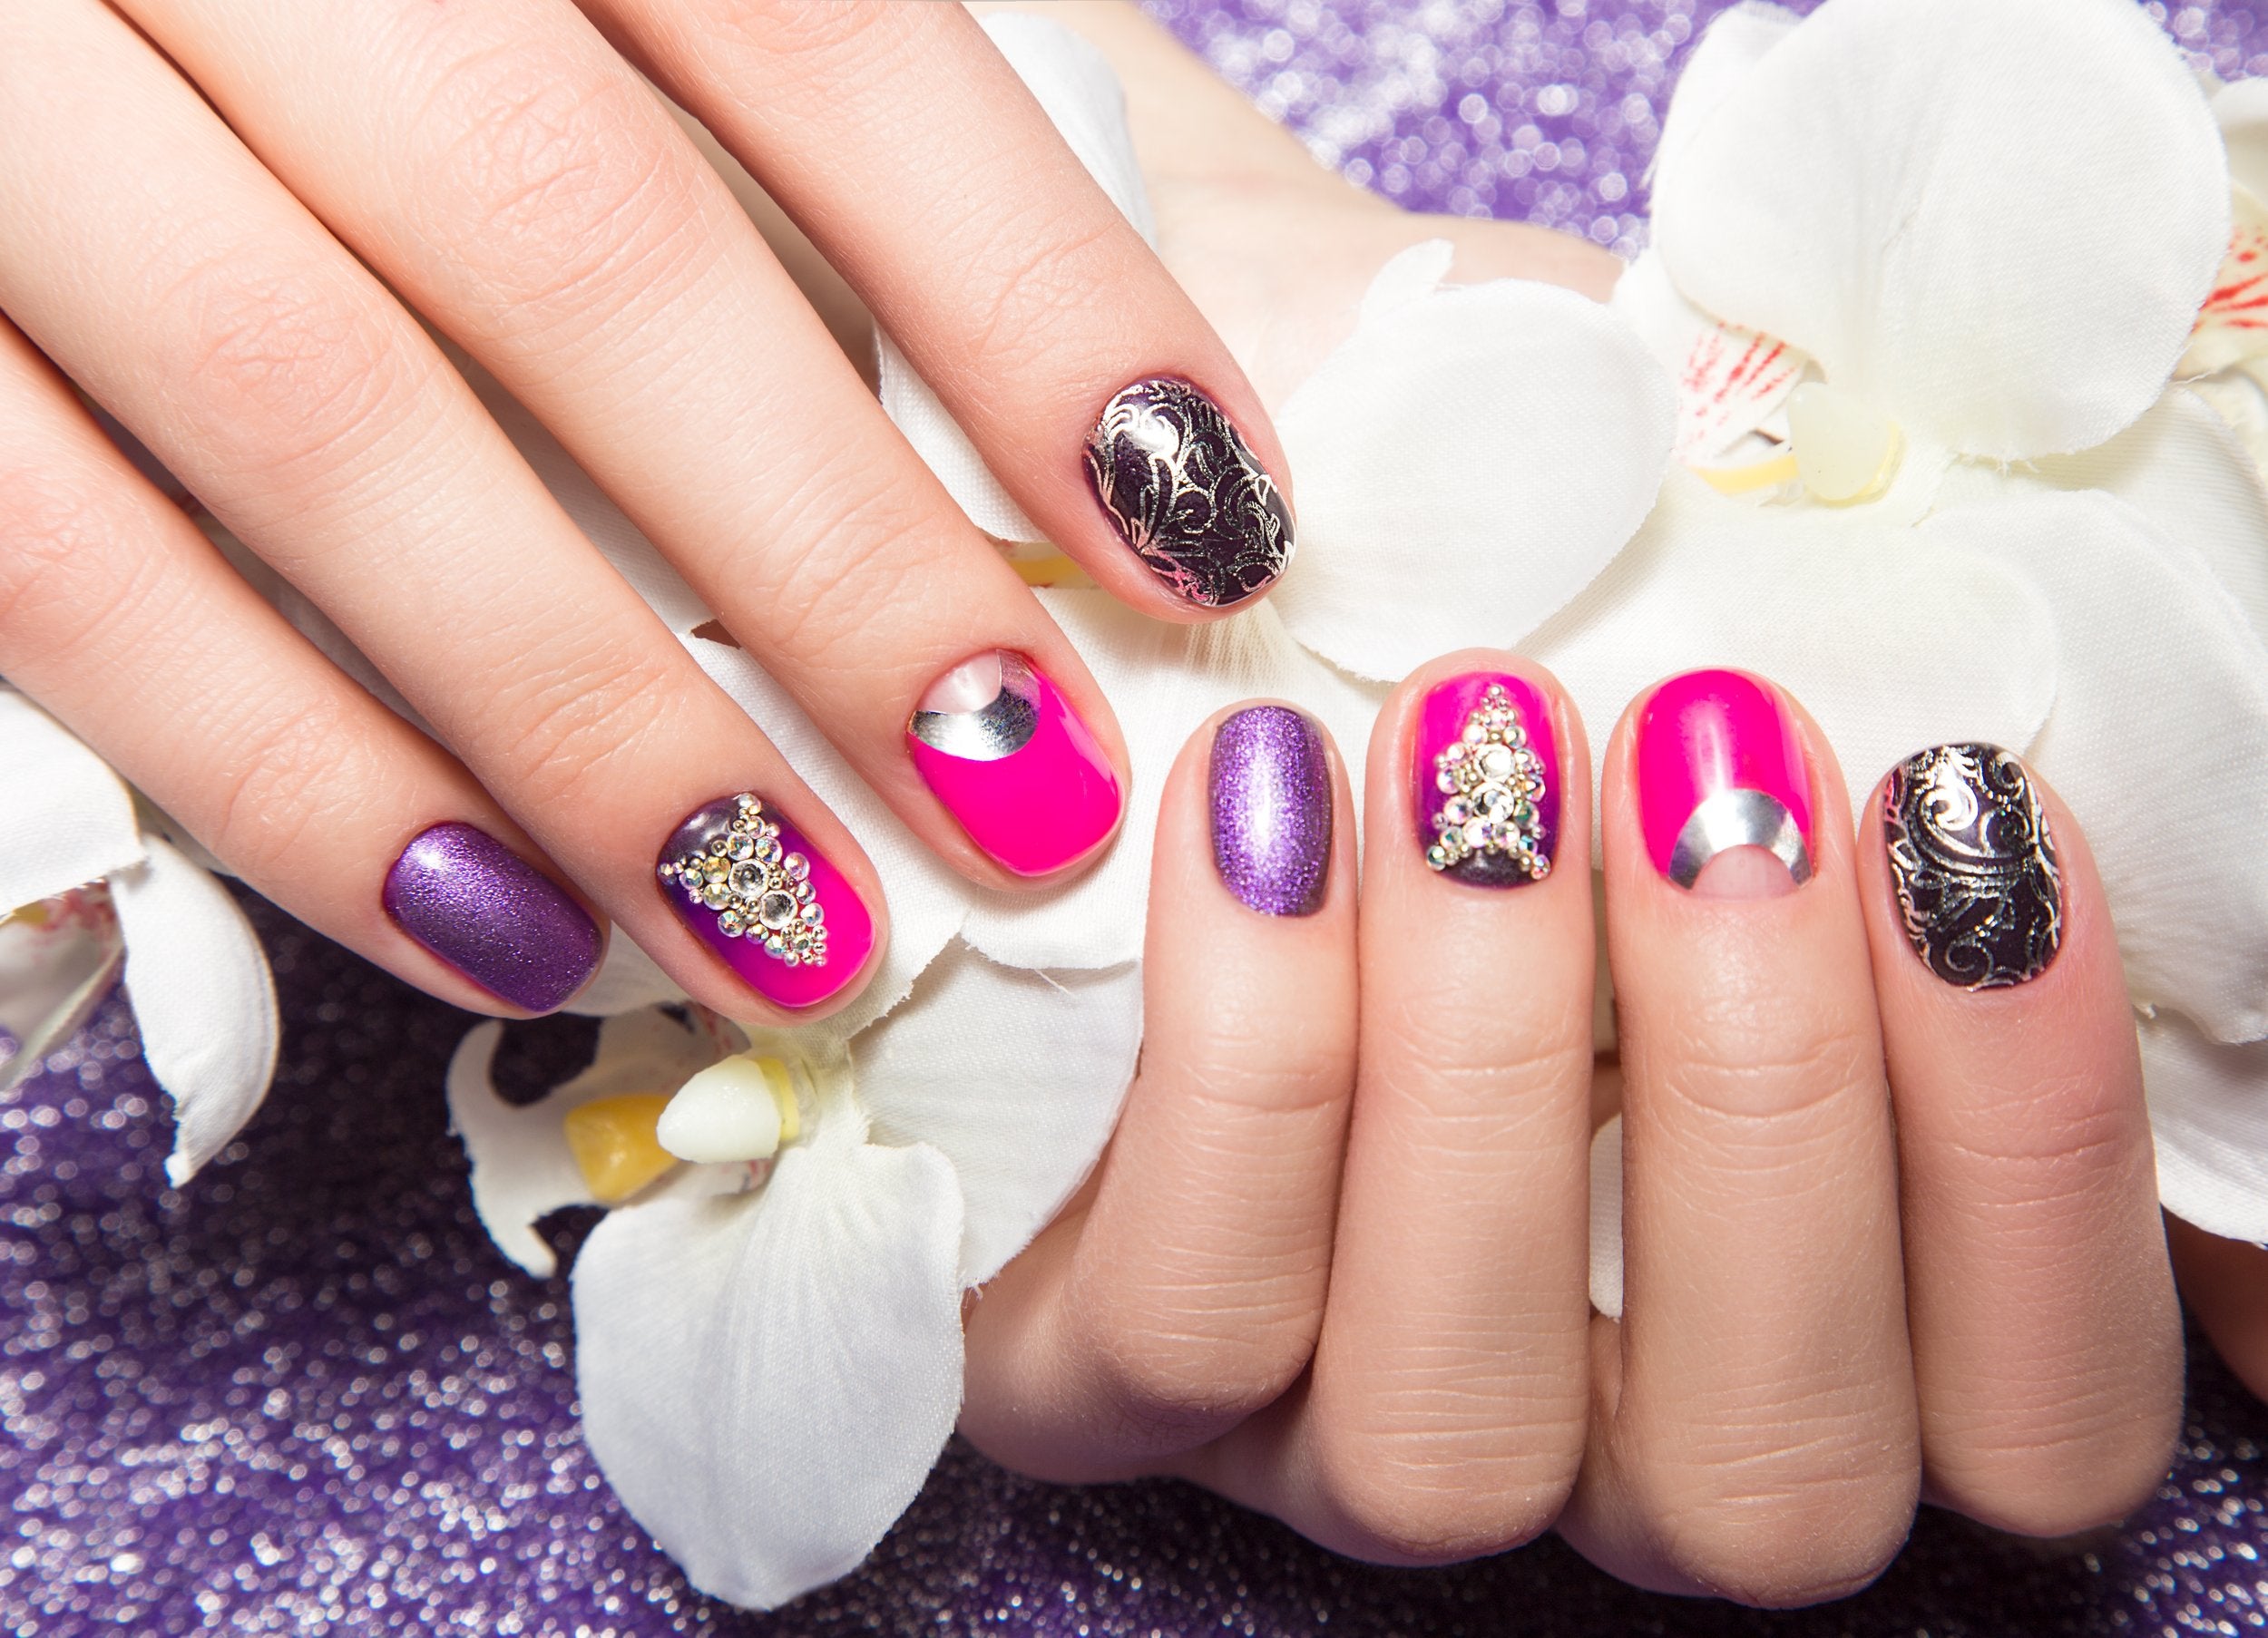


The appeal of gel manicures and pedicures lies in their durability, extended wear, and glossy finish. As more people embrace the idea of self-care and pampering from the comforts of their own homes, mastering the art of DIY gel manicures and pedicures becomes paramount. Preparing your nails, applying polish, and executing flawless curing techniques may be daunting if you're not equipped with the proper tools and knowledge. However, with Tweexy's pioneering hinge with SmartGrip technology, you can take your at-home nail care regime to new heights.
Tweexy's hinge with SmartGrip technology is designed to firmly grip your LED/UV nail lamp, ensuring an even curing process for your gel polish application. This groundbreaking product guarantees salon-quality results while minimizing the risk of over- or under-curing your gel polish, resulting in lasting and beautiful results.
In this blog post, we will delve into the world of at-home gel manicures and pedicures and explore how Tweexy's hinge with SmartGrip technology can revolutionize your nail care routine. We will provide comprehensive guidance on every stage of gel nail application, including preparation, polish application, curing techniques, and helpful tools like Tweexy's hinge with SmartGrip technology. Additionally, we'll discuss the importance of proper gel polish removal and essential aftercare practices to maintain your nails' health and aesthetics.
By incorporating Tweexy's advanced tools into your DIY gel manicure and pedicure sessions, you can experience professional-level results and enjoy an elevated, hassle-free nail care journey at home. Join us as we navigate the art of DIY gel nail applications, making the most of innovative tools like Tweexy’s hinge with SmartGrip technology, and embracing the rewarding experience of nurturing your nails and expressing your style with confidence.
1. A Comprehensive Guide to DIY Gel Manicures and Pedicures
To achieve professional results at home, follow this comprehensive guide to DIY gel manicures and pedicures:
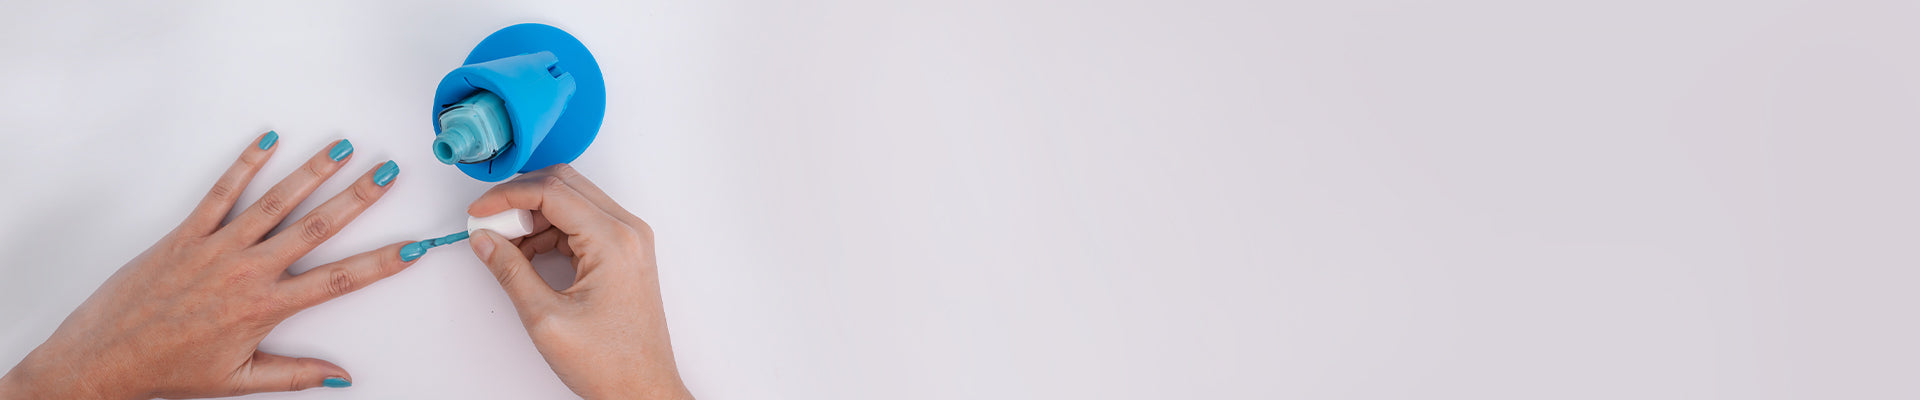
A. Nail Preparation: Properly clean and prep your nails by removing any old polish, pushing back cuticles, and filing your nails into the desired shape.
B. Apply Base Coat: Apply a thin layer of gel base coat, making sure to avoid flooding the cuticle area or sidewalls of your nails.
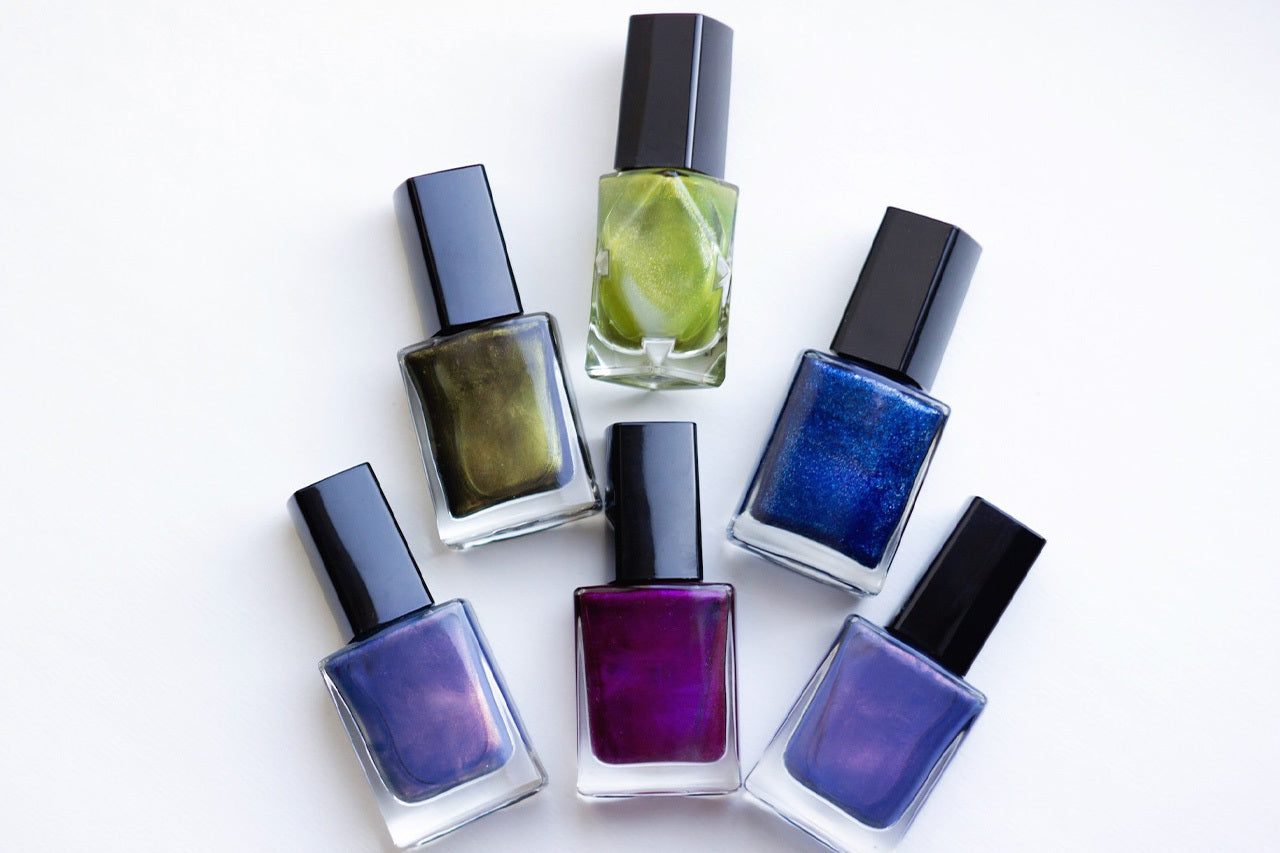
C. Apply Gel Polish: Apply your chosen gel polish color in thin, even layers. You may need to apply 2-3 coats to achieve full coverage and opacity.
D. Complete with a Top Coat: Finish by applying a thin layer of gel top coat, sealing the edges of your nails for extended wear and high-shine.
2. Tweexy's Hinge with SmartGrip Technology: A Game-Changer for At-Home Curing
Incorporating Tweexy's hinge with SmartGrip technology into your DIY gel manicure and pedicure routine offers numerous benefits:
A. Improved Precision: By holding your LED/UV lamp securely in place, the SmartGrip technology ensures a consistent and even curing process, preventing over- or under-curing of your gel polish.
B. Ease of Use: The adjustable hinge design accommodates a variety of LED/UV nail lamp sizes and shapes, making it a versatile tool for every at-home nail artist.
C. Enhanced Durability: The secure grip promotes a more effective curing process, resulting in longer-lasting gel manicures and pedicures with fewer chips or peeling.
3. Proper Gel Polish Removal and Aftercare
Maintaining the health and integrity of your nails is essential. Follow these steps for proper gel polish removal and aftercare:
A. Quality Removal Products: Invest in quality gel polish remover and tools, such as a nail file, orangewood sticks, and cotton pads soaked in acetone.
B. Gentle Filing: Gently file the surface of your gel polish to break the top coat's seal, making the removal process more effective.
C. Wrap and Soak: Wrap your nails with acetone-soaked cotton pads and aluminum foil. Allow your nails to soak for 10-15 minutes, or until the gel polish starts to lift from your nails.
D. Gentle Removal: Use an orangewood stick to gently push away the loosened gel polish, taking care not to damage the nail bed.
E. Nourish and Hydrate: Following removal, apply cuticle oil and nourishing hand cream to ensure your nails and hands remain hydrated and healthy.
4. Tips for Successful DIY Gel Manicures and Pedicures
Keep these essential tips in mind when performing DIY gel manicures and pedicures at home:
A. Thin, Even Layers: Apply your gel polish in thin, even layers to achieve a smoother finish and promote more effective curing.
B. Cap the Nail Edge: Seal the edges of your nails with each coat of gel polish to increase durability and prevent chipping.
C. Patience and Precision: Take your time with each step, ensuring clean, precise application, and allowing adequate curing time with your LED/UV lamp.
Conclusion
With Tweexy's hinge with SmartGrip technology, you can revolutionize your at-home nail care experience, enabling you to enjoy salon-quality gel manicures and pedicures with ease and confidence. By following our comprehensive guide to DIY gel nail applications, you will be well-equipped to create stunning, long-lasting gel manicures and pedicures while preserving the health and beauty of your nails.
Don't let the challenges of self-care in the DIY realm hold you back. Embrace the joy of self-expression and empowerment, utilizing Tweexy's best vinyl weeding tools designed to support your journey towards beautiful nails and an elevated sense of style and confidence.