Weeding vinyl can be a frustrating task, but it doesn't have to be. For those unfamiliar, weeding involves removing excess vinyl from your designs, leaving behind the desired pattern that's ready to transfer. If you're spending more time struggling with vinyl than actually creating, you might just need a few adjustments to your technique. Whether you're a seasoned crafter or just starting, understanding the essentials of weeding vinyl can significantly streamline the process, saving both time and effort.
Let's dive into some practical strategies that can make weeding vinyl a breeze. These time-saving tricks and organizational tips will not only boost your efficiency but also enhance the overall crafting experience. Think of it like baking cookies: once you know the recipe, it's easy to whip up a fresh batch without stress. So, gear up to transform your crafting sessions into smooth, enjoyable experiences with these simple yet effective techniques.
Understanding Weeding Vinyl
Before tackling any project, it's crucial to know what you're working with. Weeding vinyl involves the careful removal of the excess parts of a vinyl motif, letting your masterpiece shine. It's like sculpting, where you take away bits that aren't part of the final artwork. For a smooth crafting process, having a base knowledge of the materials and tools you're working with is important.
Vinyl comes in various types, each requiring a slightly different approach for optimal results. The basic idea is to peel away any vinyl that doesn’t belong in the finished design. Knowing your materials ensures that you apply the right amount of pressure and use the correct tools, helping avoid mishaps and waste. A crafting knife, precision tweezers, or a weeding ring can be your best friends here. These tools help you maneuver around those pesky edges, making the job much neater and less exhausting.
Why does technique matter so much in this process? Well, think of it like decorating a cake. Even with all the needed ingredients, without proper methods, say using the wrong kind of spatula or slathering on too much icing, it can become quite the mess. Proper techniques in weeding vinyl not only safeguard your designs but also make sure you don't lose precious crafting time. Plus, understanding these basics builds a strong foundation for tackling more complex projects down the line.
Prepare Your Workspace for Efficient Weeding
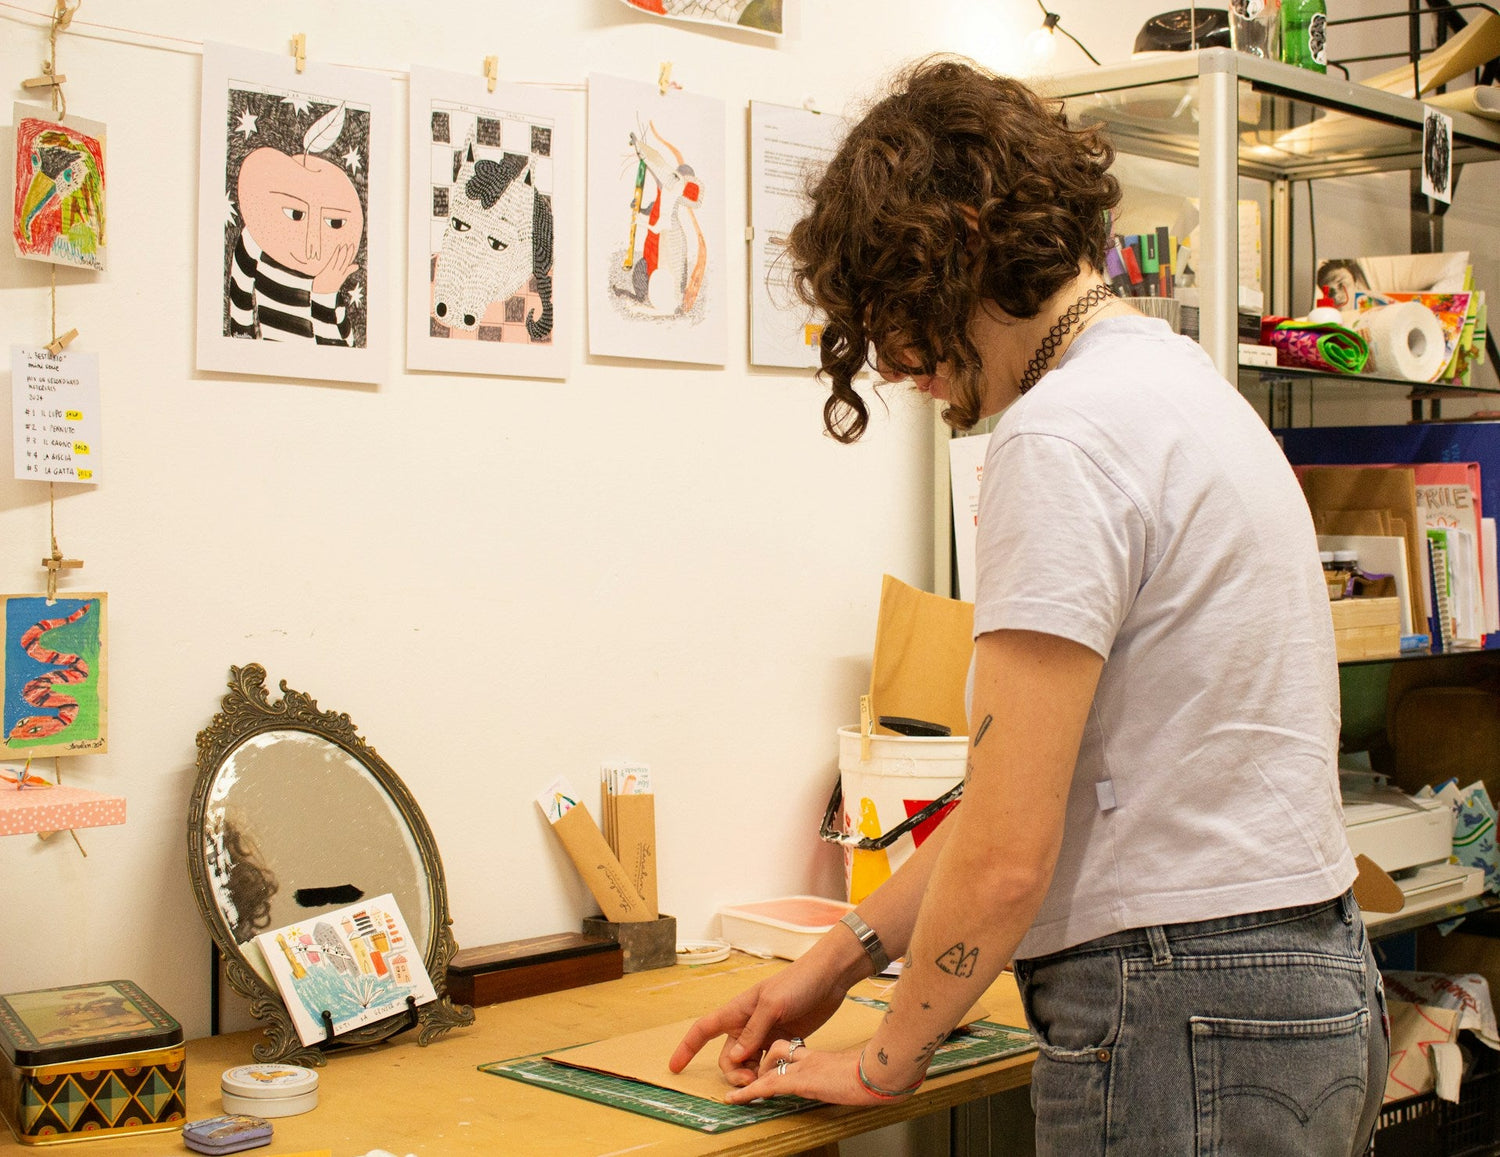
An organized workspace is the cornerstone of efficient crafting. By setting yourself up with a neat, clutter-free area, you minimize distractions and increase productivity. Here's a simple guide to prepare your space for some serious weeding action.
1. Clear the Area: Start with a clean slate. Remove unnecessary items from your working surface to keep it tidy and find that extra bit of concentration you need.
2. Gather Essential Tools: Make sure all necessary tools are within arm's reach. Have your crafting knife, weeding ring, tweezers, and transfer sheets ready. Also, include some protective gear like a cutting mat to keep surfaces safe.
3. Organize Vinyl Sheets: Stack your vinyl sheets in order and ensure you can access them easily without causing a mess.
4. Proper Lighting: Good lighting is essential. A lamp or natural light will help you see your project clearer, reducing errors while weeding.
5. Comfort Matters: Ensure your seating and working height are adjusted properly. Being comfortable means you can focus better on your work.
Having this setup not only improves your efficiency but also makes the experience more enjoyable. An efficient workspace sets the stage for seamless crafting, allowing creativity to flow without interruptions.
Effective Weeding Techniques
When getting hands-on with vinyl, using effective techniques makes a significant difference. Start with a clean cut; your cutting tool should be sharp and precise to produce clear lines. This step saves you from dealing with jagged edges later. Lay out your vinyl on a flat surface, with enough room to maneuver easily.
Begin the weeding by removing the larger, non-essential pieces first. This means taking off any big sections around your design. It's like peeling a sticker, where you have to peel the edges first before getting into the small bits. A pair of tweezers or a weeding ring helps in plucking out the smaller pieces. Work with patience, especially around intricate areas. For instance, if you're crafting a flower design, tackle the petals with care to avoid lifting any part you want to keep.
Avoid common mistakes by double-checking your cuts and ensuring the vinyl is well adhered to the backing sheet before you start. Practice makes perfect, and over time, your hand will know instinctively how much pressure to use. Refrain from rushing; speed leads to errors, which in turn wastes both time and materials. Like sketching a picture, each weeding step requires focus to maintain the integrity of the design.
Time-Saving Tips and Tricks
Efficiency and ease come with practice, but these hacks can kickstart a more streamlined process. Here are a few shortcuts to help scoop up those minutes lost to tedious weeding:
1. Heat Trick: A little warmth can loosen stubborn pieces. Run a warm iron or a low-heat blow-dryer briefly over the vinyl to ease the weeding.
2. Color Code Your Tools: Using color-coded supplies aids in quick identification, so you reach for the right tool without searching.
3. Keep a Scrap Collector Handy: A small container nearby for scrap pieces helps to keep your workspace tidy and minimizes cleanup time.
4. Continuous Weeding: When working with multiple designs, work on them back-to-back to maintain rhythm, rather than doing one piece at a time.
Getting into a steady workflow without interruptions keeps the momentum going. These strategies not only save valuable time but also enhance the satisfaction that comes with completing a task efficiently.
Maintaining Your Weeding Tools
Regular maintenance of your tools guarantees their longevity and reliability. After hours of touching stubborn vinyl bits, your tools need proper care. Clean your crafting knife or tweezers with a disinfecting wipe to remove adhesive buildup. Keeping them sharp ensures they continue to deliver precise cuts without extra force.
Store your tools in a designated spot. Whether you use a toolbox or a simple drawer divider, consistent storage avoids accidental damage and keeps them accessible. Check tools regularly for wear and tear. If a blade gets dull or tweezers bend, replace them promptly. Just like a paintbrush for a painter, your cutting tools directly impact the quality of your work, and keeping them in tip-top shape pays off in perfect designs.
Master Your Weeding Vinyl Process
Mastering weeding vinyl means combining smart preparation with sound techniques. Having a clear understanding of the materials, the importance of a tidy workspace, effective weeding methods, and well-maintained tools are key elements in boosting your crafting prowess.
By adopting these practices, vinyl crafting transforms from a potential source of annoyance to a rewarding experience. The joy of creating with ease is something every crafter should enjoy, and with these tips, anyone can achieve just that. Embrace the simplicity and precision on your crafting journey, and let your creations speak volumes about the time and care you invest in them.
Enhance your crafting efficiency with the right tools and techniques by incorporating the best vinyl weeding tool from Tweexy into your routine. Streamline your weeding process and enjoy a smooth crafting experience every time you sit down to create. Unleash your creativity with tools designed to make every project not just easier, but more enjoyable.


