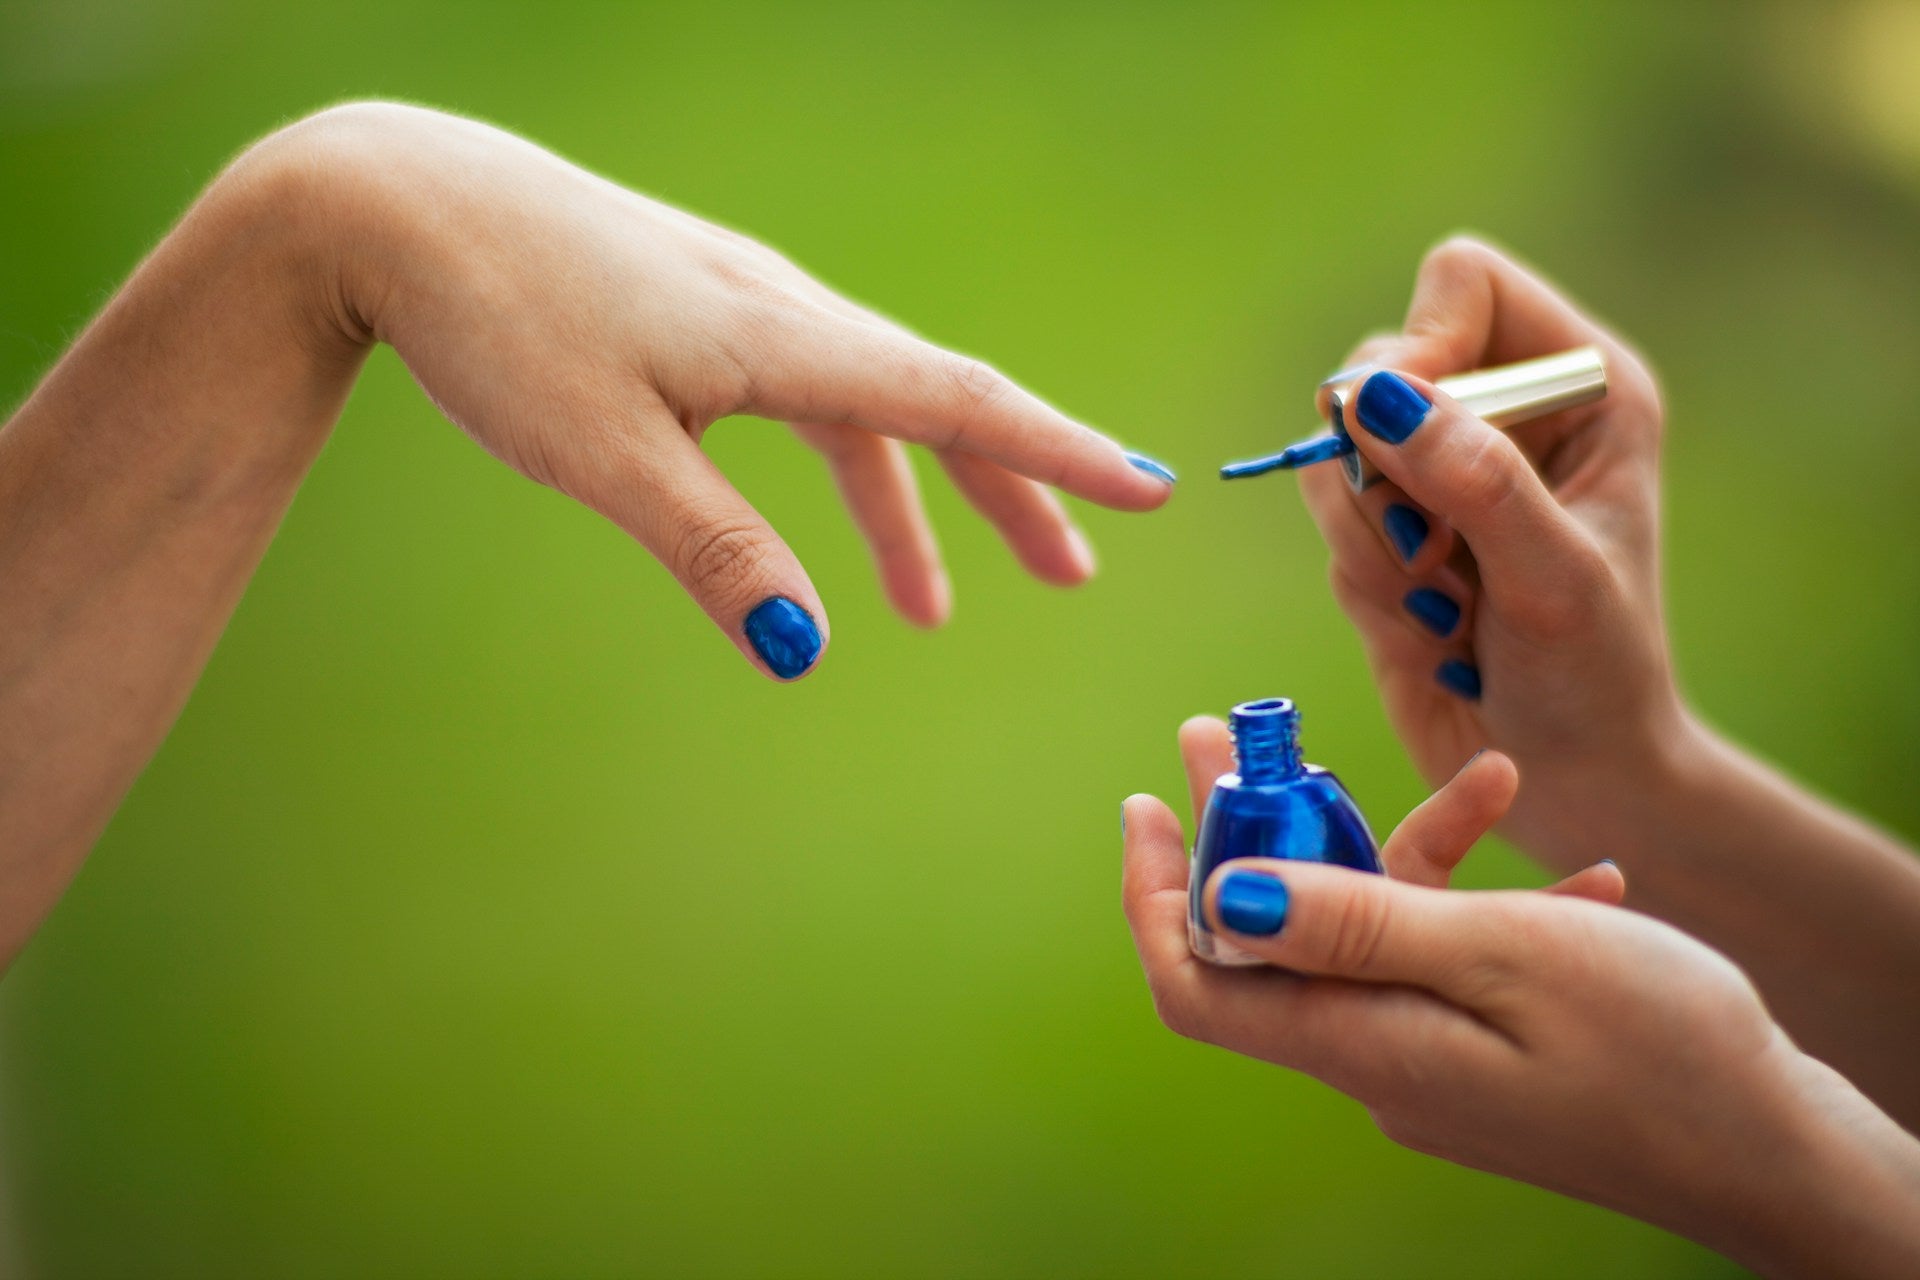


Weeding vinyl is an interesting part of crafting that tests your skills and brings out your creativity. Whether creating custom decals, t-shirts, or home decorations, knowing how to weed vinyl effectively can make the process smoother and more enjoyable. Weeding involves removing unwanted vinyl pieces from your design, leaving the pattern or image you want to transfer. It's a task that requires focus and precision, but mastering it can open up new crafting possibilities.
Imagine being able to complete your vinyl projects quickly and efficiently, with clean lines and a professional finish. Mastering the art of weeding vinyl can elevate any crafting endeavor, making the process more enjoyable and less stressful. By developing smart techniques and equipping yourself with the right tools, anyone can weed vinyl like a pro. Whether you're a seasoned crafter or just starting, optimizing your weeding process will save you time and effort, allowing you to focus on creating something beautiful.
Gather Your Tools
Having the right tools is key for any vinyl weeding project. These tools simplify the process and significantly improve the accuracy and neatness of your final design.
1. Weeding Hooks and Picks: These thin, pointed tools help lift and remove tiny vinyl pieces, perfect for intricate designs needing precision.
2. Tweezers: Essential for removing small sections of vinyl with ease and precision, ensuring clean extraction without damaging surrounding material.
3. Precision Knife: A sharp blade for clean cuts, separating the design from larger vinyl areas. Its control is indispensable for detailed work.
4. Cutting Mat: A self-healing mat provides a safe, stable surface for cutting, preventing damage to your table and extending blade life.
5. Lightbox or Bright Light Source: Illuminates the vinyl for visible cut lines, allowing easier, more accurate weeding, especially in poorly lit areas.
Each tool plays a significant role in ensuring a smooth and efficient weeding process. Weeding hooks and picks are great for tight corners and removing small vinyl bits. Tweezers are excellent for precision work, especially with intricate designs. The precision knife ensures sharp, well-defined cuts, preventing accidental tears. A sturdy cutting mat protects your work surface and prolongs blade life. A lightbox or bright light source highlights fine cut lines, reducing eye strain and mistakes.
Having these tools ready before you start will save time, prevent frustration, and result in a cleaner, more professional finish on your vinyl projects.
Preparing Your Vinyl
Properly preparing your vinyl sets the stage for a smooth weeding experience. To start, ensure your vinyl is cut properly to avoid headaches later. Adjust your cutting machine settings based on the vinyl type and thickness to ensure clean slices without cutting through the backing.
Once cut, use a scraper tool to press down on the vinyl, helping the cut lines stick firmly to the backing. This makes removing unwanted pieces less risky and more precise. After pressing, gently peel back the transfer tape, revealing your design while leaving unneeded pieces on the sheet for removal.
Avoid rushing this stage, as hurrying can lead to unintentionally lifting parts of your design, ruining the image. Watch for pieces not fully cut through, and carefully separate them with your precision knife. These prep steps greatly enhance weeding efficiency, paving the way for perfect craft projects every time.
Techniques for Efficient Weeding
For efficient vinyl weeding, consider a few techniques. Start from the outer edges and work inward to minimize the risk of removing parts of your design. Treat it like peeling an orange, starting where separation is easiest and slowly working your way around.
Weeding in small sections is another method. Avoid removing large vinyl pieces at once, as that can lead to errors or missed spots. Break your project into manageable parts, removing excess vinyl bit by bit. This approach helps maintain control and accuracy over each section.
Consider using a weeding box—an outline that surrounds your design during cutting and weeding. It saves material and provides a clear boundary, allowing focus on the design without distractions.
For large projects, take frequent breaks to rest your eyes and hands. Fatigue easily leads to mistakes, so taking breaks ensures maximum precision and care.
Troubleshooting and Tips
Despite careful preparation, issues can arise. If vinyl isn't peeling easily, your blade may be too dull or the cut lines not deep enough. Double-check machine settings or replace the blade.
If smaller vinyl bits remain stubborn, use a light touch and press lightly with your weeding hook, applying gentle, consistent pressure to lift without disrupting other areas. Heating your vinyl with a hairdryer can help, as the warmth softens adhesive, easing removal of tiny leftover pieces.
For instances when a piece of your design lifts off, carefully press it back down with tweezers. Use a scraper to ensure it stays put. High-quality vinyl can prevent these issues from the start. Experiment with brands to find what suits your projects best.
By incorporating these tips and solutions, your vinyl crafting experience will be smoother and more rewarding, allowing you to stay focused on the creativity and enjoyment of crafting rather than frustrations from mishaps.
Finish off your crafting endeavors with precision and artistry by incorporating smart weeding techniques. With the right tools and some practice, your projects will shine with expertise. Explore how Tweexy can enhance your skills with products designed to make the process seamless. Learn simple ways to tackle your weeding vinyl projects with greater ease and confidence.