


Nail art has taken the beauty world by storm, allowing individuals to express their creativity through unique and intricate designs. However, mastering nail art can seem daunting, particularly for beginners. To help you embark on your nail art journey, we've compiled a comprehensive guide exploring top designs and techniques that are perfect for beginners – all made easier with the help of Tweexy's ingenious products.
Tweexy, the creator of the original wearable nail polish holder, has revolutionized the beauty and crafting industries with its innovative range of products. This blog post will explore how to leverage Tweexy's wearable nail polish holder and other practical items to simplify the nail art process and achieve stunning results.
From polka dots to simple stripes, you'll learn how to create eye-catching nail designs that require minimal effort but deliver maximum impact. With the support of Tweexy's products and our expert tips, you'll soon be on your way to mastering beginner-friendly nail art techniques and creating Instagram-worthy manicures at home.
1. Nail Art Preparation: Setting Yourself Up for Success
Before you start creating your nail art designs, it's essential to prepare your nails and gather the necessary tools and materials. Here's a quick checklist to set yourself up for success:
Begin with Clean, Groomed Nails
Remove any old nail polish and make sure your nails are clean, filed, and shaped to your liking. Ensure that your nails are free from any oils or lotions, as these can affect the nail polish adhesion.
Gather Your Nail Art Supplies
Choose the nail polish colors you'll be using and have your Tweexy wearable nail polish holder ready. Additionally, gather any required tools such as dotting tools, toothpicks, striping tape, or small brushes for more detailed work.
Arrange Your Workspace
Set up a well-lit, clutter-free workspace where you can easily access your nail art supplies and prevent spills or accidents. Having a comfortable area will make the nail art process more enjoyable and efficient.
2. Beginner-Friendly Nail Art Designs and Techniques
Now that you're prepared let's jump into some simple yet stunning nail art designs and techniques suited for beginners. Remember, practice makes perfect – don't be discouraged if your designs aren't flawless initially.
Polka Dots
Polka dots are a classic and easy-to-achieve design that can be customized with various color combinations. Using a dotting tool or toothpick, apply small dots of your chosen polish color to your nails. For added precision and stability, use your Tweexy wearable nail polish holder to avoid spills and ensure a steady hand.
Color Blocking
Create eye-catching geometric patterns with bold, contrasting colors using color blocking. Start by painting your nails with a base color. Once dry, use small pieces of striping tape to create geometric shapes and fill them in with your contrasting polish color. Carefully remove the tape to reveal crisp, clean lines.
Stripes
For an elegant and simple design, create horizontal or vertical stripes in varying thicknesses using striping tape or a thin brush. To achieve straight lines with ease, place a small piece of tape on your nail as a guide. This technique can be adapted for both Minimalist and bolder designs.
Ombre Gradient
Achieve a stunning gradient effect by blending two or more polish colors. Apply each color to a makeup sponge and lightly dab it onto your nail, seamlessly blending the shades together. To prevent damage to your base color and for an effortless application, utilize Tweexy's wearable polish holder to minimize the risk of smudging.
3. Expert Tips on Nail Art Execution and Aftercare
Get the most out of your DIY nail art experience by following these expert tips for smooth execution and proper aftercare:
Apply Thin, Even Layers
When creating nail art designs, apply thin, even layers of polish to ensure a smooth, consistent finish. If needed, apply multiple coats, allowing each layer to dry before applying the next one.
Start with Your Non-Dominant Hand
Start your nail art by painting the nails on your non-dominant hand first, as it tends to be more challenging. By doing so, you'll gain confidence as you move to your dominant hand, where you'll have better control and stability.
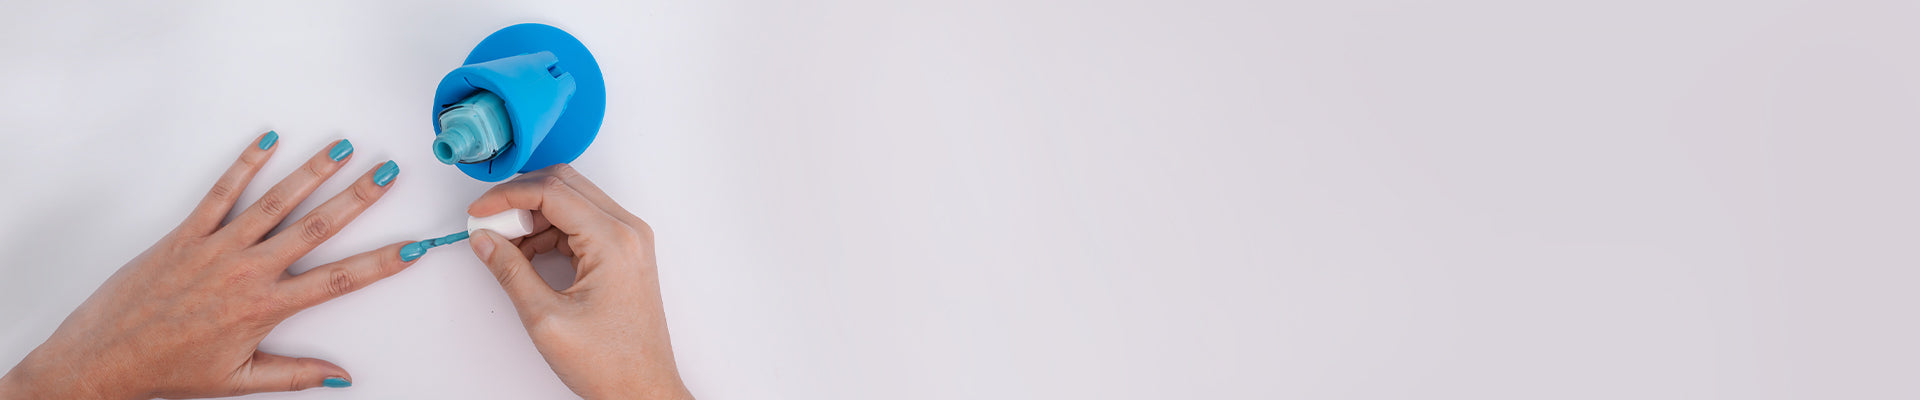
Utilize Your Tweexy Wearable Nail Polish Holder
For increased precision and convenience during nail art creation, use your Tweexy wearable nail polish holder to hold your polish bottles steady. This innovative tool allows you to focus on your designs without worrying about spills or wobbling bottles.
Seal Your Nail Art with a Top Coat
To protect and prolong the longevity of your nail art, apply a clear top coat once your design is completely dry. This will help prevent chipping and maintain the vibrancy of your creation.
4. Becoming a Nail Art Pro
After mastering these beginner-friendly techniques, challenge yourself to explore more complex designs and expand your nail art repertoire. Research new styles, participate in online nail art challenges, and connect with communities of nail art enthusiasts to stay inspired and motivated to grow your skills.
By steadily progressing and refining your abilities, you'll soon be able to create elaborate, intricate designs that showcase your creativity and expertise.
Conclusion
Embarking on your DIY nail art journey becomes an enjoyable and fulfilling experience with the right tools, techniques, and guidance. By leveraging Tweexy's innovative products and mastering these beginner-friendly designs, you'll be well on your way to creating stunning nail art in the comfort of your home.
Embrace your creativity and unlock the endless possibilities of beautiful, expressive nail designs. With Tweexy's wearable nail polish holder, expert tips, and practice, you'll soon be on your way to becoming a nail art pro. Purchase one now!