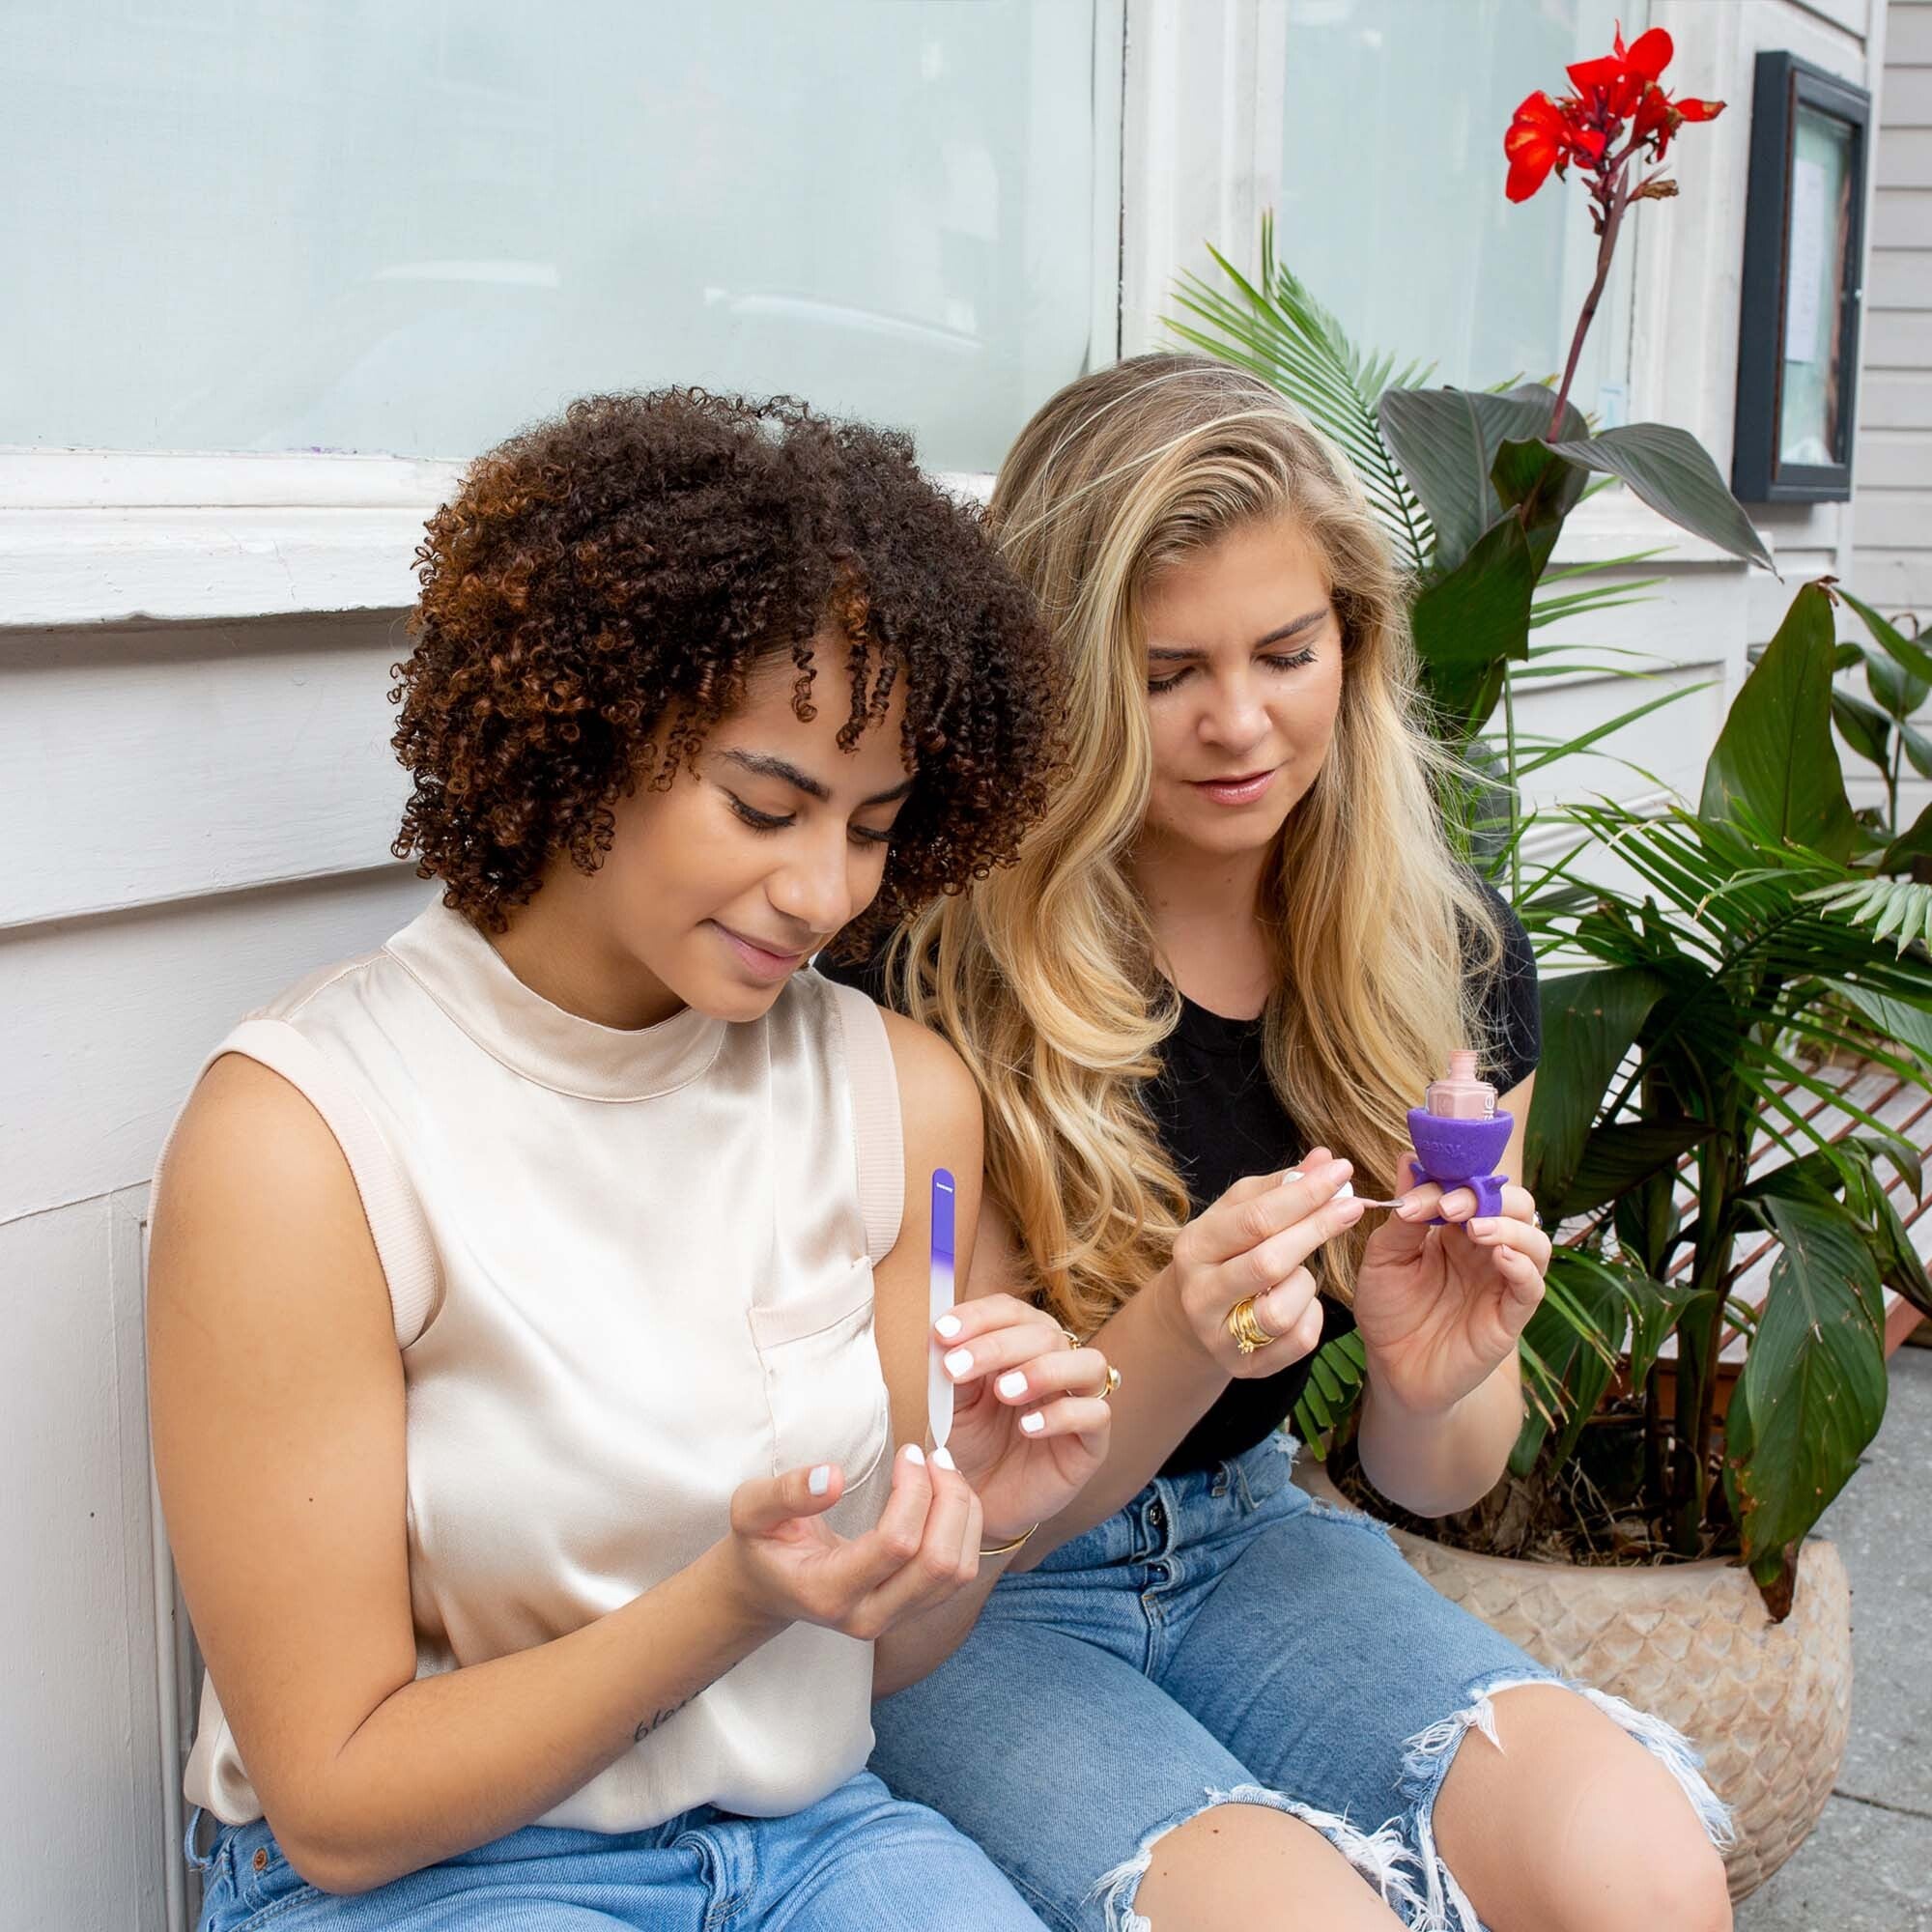
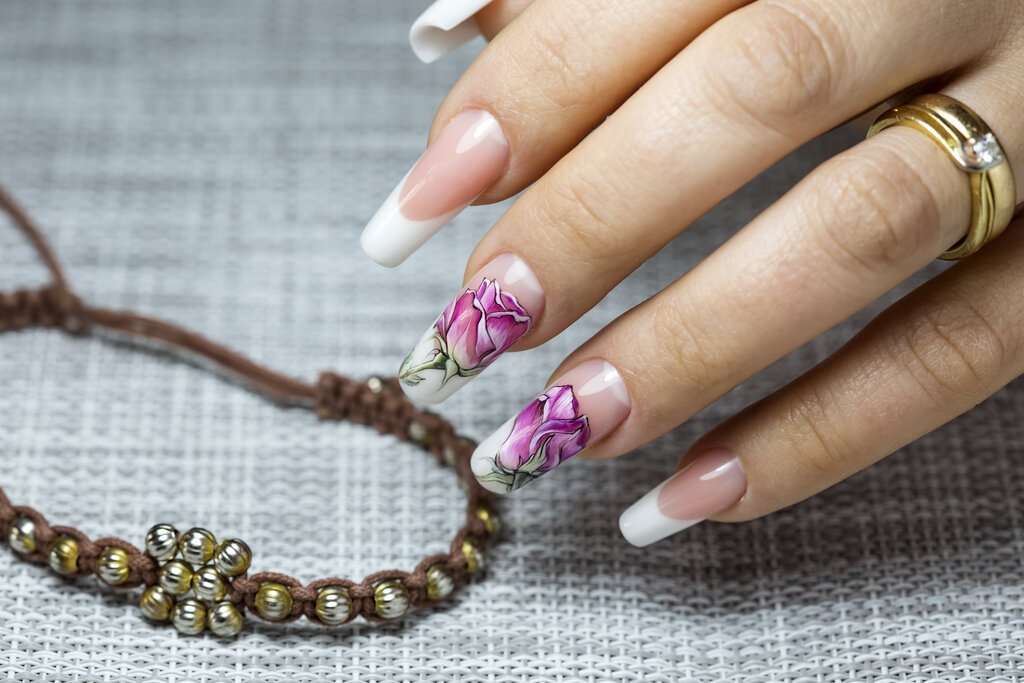
Nail art has taken the world of beauty by storm, with countless nail enthusiasts exploring new and exciting ways to make their nails stand out. Creating intricate and eye-catching designs at home can be a daunting task, especially if you're new to DIY nail artistry. Nonetheless, with the right tools and guidance, anyone can unleash their creativity and become a nail art aficionado. In this blog post, we will delve into the world of nail art, explore various techniques and trends, and discuss how Tweexy's innovative products, such as the original wearable nail polish holder, wearable weeding vinyl ring, and Tweexy hinge with SmartGrip technology, can make your DIY nail artistry easier and more enjoyable than ever.
DIY nail art allows you to express your individuality and showcase your unique style. However, mastering the art of nail design can be challenging, with the potential for smudges, uneven strokes, or even ruined manicures from mishandling nail polish bottles or tools. The key to conquering these challenges lies in using the proper equipment, paired with patience, practice, and a little bit of guidance.
Throughout this blog post, we will discuss various nail art techniques, such as marbling, nail stamping, and freehand painting, as well as provide tips on how to achieve a flawless outcome. With Tweexy's revolutionary products and our helpful advice, you will be well on your way to creating stunning, professional-grade designs that will make you the envy of your friends and family. Are you ready to become a DIY nail art pro? Let's get started.
Mastering the Basics - Nail Care and Preparation
Before diving into the world of nail art, it's crucial to understand the importance of proper nail care and preparation. A healthy and well-maintained nail canvas sets the stage for a beautiful design. Here are a few essential steps to follow in your nail care routine:
1. Clean your nails thoroughly, ensuring they are free from dirt, oils, and old polish residue. You can use a gentle nail polish remover to wipe off any lingering polish.
2. Shape your nails according to your preference, but remember to file in one direction to avoid damaging the nail plate.
3. Moisturize your hands and nails with a nourishing hand cream or cuticle oil. This step is crucial for overall nail health and can help prevent breakage.
4. Apply a base coat on your nails before painting them. A base coat protects your nails from staining and provides better adhesion for your polish.
By paying attention to these essential tips, you'll establish a strong foundation for your nail art, ensuring a smooth application and long-lasting results.
How to Create Marbled Nail Designs
Marbled designs offer an elegant and mesmerizing look that can elevate your nail art prowess. With a little practice and patience, you'll be able to achieve this stunning technique at home. Here's how to create a marbled nail design using the water marbling technique:
1. Choose two or more complementary nail polish colors and make sure they are compatible (meaning they spread evenly on the water surface).
2. Fill a small cup with room temperature water.
3. Apply your chosen colors one drop at a time onto the water surface, layering them until you have a bulls-eye pattern.
4. Use a toothpick or other fine-tipped tool to create your desired marbled pattern by gently dragging it through the polish layers.
5. Dip your finger into the nail design at a 45-degree angle, making sure to keep your nail parallel to the water surface.
6. Use a cotton swab or your tool to remove excess polish from the water surface before withdrawing your finger.
7. Remove any stray polish on your skin surrounding the nail using a cotton swab dipped in nail polish remover or apply a layer of liquid latex around your nails before marbling to make cleanup easier.
8. Seal your design with a glossy or matte topcoat for a professional finish.
Don't forget to utilize Tweexy wearable nail polish holder to secure your polish bottles comfortably on your fingers, helping you avoid spills and apply your marbled design with ease.
Basic Stamping Techniques for Intricate Nail Art
Nail stamping is a popular DIY nail art technique that allows you to create intricate and detailed designs with minimal effort. All you need are stamping plates, a stamper, and a scraper. Here's how to get started with nail stamping:
1. Choose a stamping plate with your desired design and clean it with nail polish remover to get rid of any residue.
2. Apply nail polish over the chosen design on the plate with Tweexy wearable nail polish holder to keep the bottle secure.
3. Using the scraper, gently scrape the excess polish off the plate to reveal the design.
4. Press the stamper onto the plate, picking up the nail polish design.
5. Roll the stamper over your prepared nail, transferring the design onto it.
6. Finish with a topcoat to seal the stamped design, making sure not to smear the pattern.
Remember that practice makes perfect with stamping, and utilizing the Tweexy hinge with SmartGrip technology can provide better control when handling the stamper for flawless results.
Freehand Nail Designs for Absolute Creativity
Freehand painting allows you to create truly unique and personalized designs on your nails. With some basic painting supplies and a steady hand, you can let your imagination run wild. Start by investing in a set of nail art brushes, dotting tools, and nail polish thinner to achieve the desired consistency. Begin with simple designs, such as flowers, geometrical patterns, or minimalist lines, and gradually progress to more complex creations.
When painting freehand, try to work in thin layers, building up color and opacity gradually for a smoother finish. Tweexy wearable nail polish holder and Tweexy hinge with SmartGrip technology can significantly enhance your freehand painting experience by helping you maintain steady control over your polish brush or tools.
Wrapping Up Your DIY Nail Art Journey
The journey to DIY nail art perfection may seem challenging at first, but with the right tools, techniques, and a little patience, anyone can create stunning, envy-worthy designs. Tweexy's innovative line of products, such as the original wearable nail polish holder, wearable weeding vinyl ring, and Tweexy hinge with SmartGrip technology, can make your DIY nail artistry not only more manageable but also more enjoyable.
Don't be afraid to experiment with various techniques, embrace your creativity, and showcase your unique style. WIth the help of our nail polish holder from Tweexy, there’s no limit to the nail art designs you can do. Happy painting!


